My shoe rack revamp – DIY
I decided to do a shoe rack revamp!
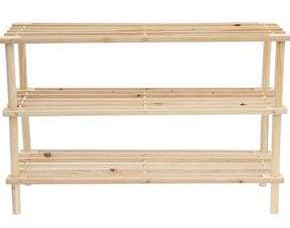
Sometimes I had a need to buy things just out of urgency, like when I needed something just to store my shoes. Back then I didn’t think of any particular style. Now I wished this shoe rack was matching my new home a bit better. Instead of getting rid of it, I decided to keep it and maybe try some simple tricks to change its look.
This uninteresting, extremely simple, and basic shoe rack I got already some time ago. I purchased it from Tallira for not more than 10 euros, as a quick fix to our issue with not enough storage.
Let’s start the project
Since we will be moving to a new place, I decided to keep it, however, I felt like it needed a small upgrade.
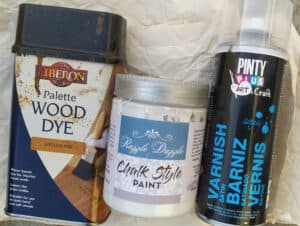
I used these three products which I had already at home:
Wood dye and varnish I had from the Homemate store however, you should be able to get at any DIY store. My chalk paint I bought some time ago for another DIY from the Shabby Chic shop.
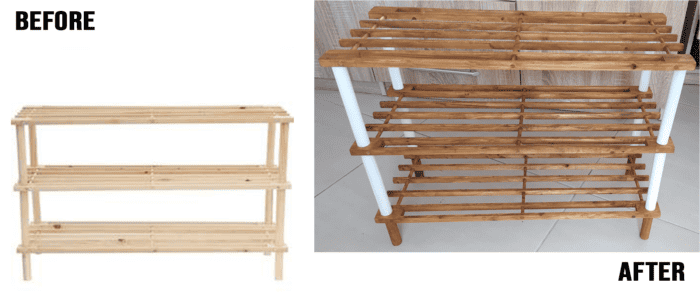
All together took me around 1,5 hour. I started by staining the whole furniture with a painting brush – I found using the brush easier, as I had to reach between wooden strips. It dried up super quickly as I was doing it outside and the day was sunny. After I decided to paint only the top and middle parts of the legs with chalk paint. After 30 minutes (I was very impatient) I gave it another thin coat and voila!
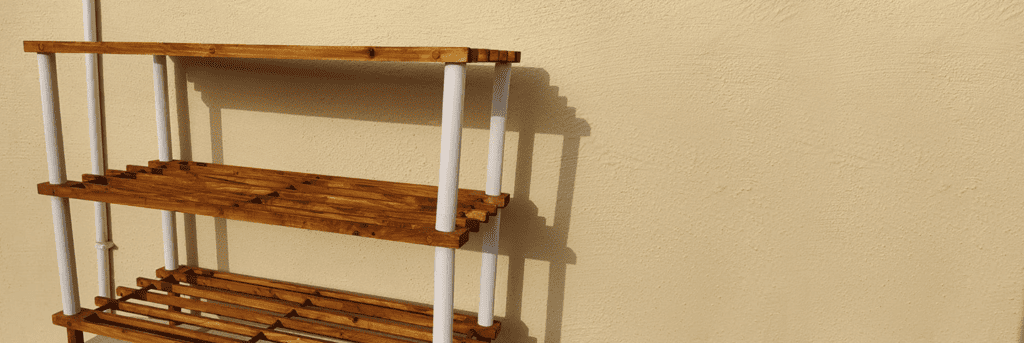
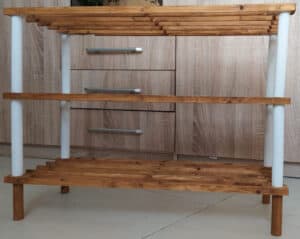
Revamped shoe rack
I am quite happy with the end result! What do you think?
In my opinion, it was worth the time, and I had so much fun just doing something so simple!
Check out more of my DIY creations here.