
My DIY Curtains and blue tassels
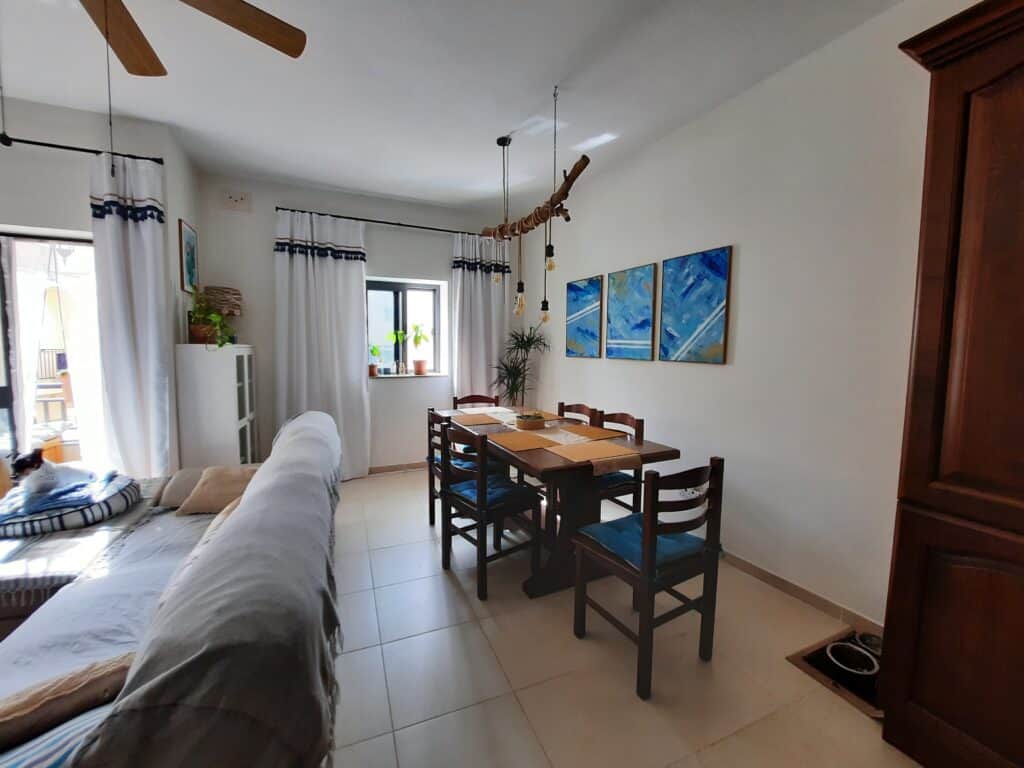
I’m incredibly happy that after almost a year of waiting for the property, we finally moved in. I will write more about it later on as today I would like to focus on one topic: CURTAINS! And how I decided to DIY curtains for my living room.
When I’ve seen this place curtains were one of those things that cringed me a lot, and I knew immediately they must go.
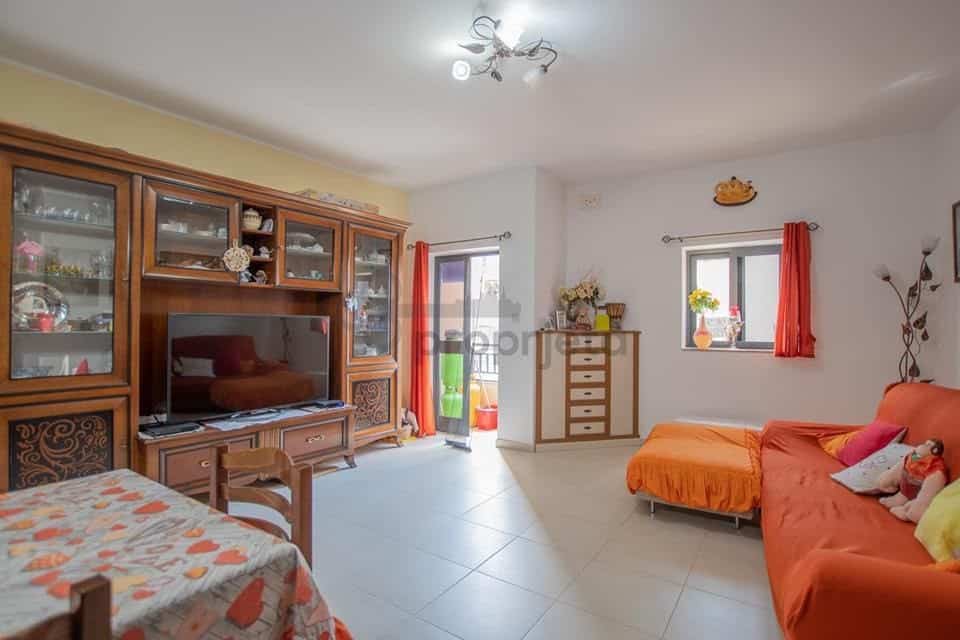
On that decent size wall, we have two tiny holes with glass – windows. Still, it amazes me how often in Malta I see those beautiful, large walls and just a tiny window in the middle. Just WHY? For me window is the essence of the room, it gives natural light, sets the mood.
Despite those small windows we still loved this apartment, so I was wondering what I could possibly do to at least optically make those windows look bigger.

Strategy for my DIY Curtains
After researching a bit I came up with the strategy as follows:
- Window treatment needs to be higher to the ceiling and more away from the window to create a bigger frame.
- Curtains should have some volume so it increases the optical size of the whole window.
- As this room suffers from a lack of natural light I want to choose a bright color for the curtains.
My decisson was to try to make my own curtains. I purchased online 7 meters by 2,5 meters of 70% blackout fabric. I was looking for a very light, natural beige, but all I could find was too dark, so I decided to play it a bit risky and go with white. The plan for the whole room is to stay with a soft and marine color pallet (whites, light beige, blue and turquoise, mixed woods colors) so white was still an option.
Cutting out and sewing curtains

I cut the fabric into 4 pieces. Narrower pieces for the door and wider for the window, and I began sewing. The next step was to sew on top the curtain tape to be able to create some folds if needed and have loops to hang hooks on. It was a hell of a job as this amount of fabric required lots of time. But after 2 weeks (with thousand of breaks for other things) I finally had them ready.
Spraypainting and installing
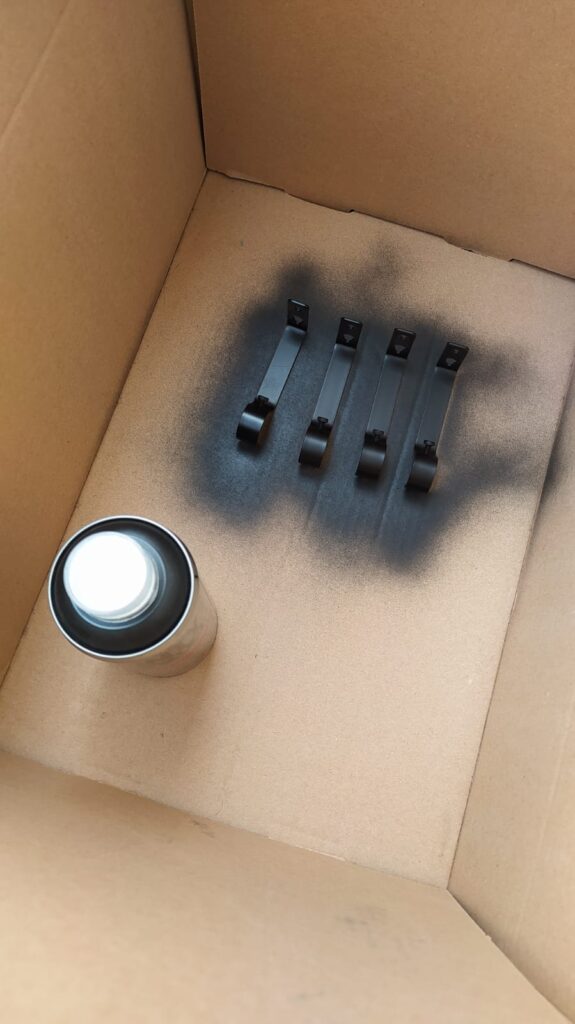
I decided to buy a new curtain rod. This one was way too short, so I went for 2 3-meter long rods (not the expandable one as those annoy me by not allowing curtain rings to slide easily), and cut it into two pieces that would fit my windows nicely. To reused rod brackets I spraypainted them with matt back and purchased black curtain rings (all from Homemate).
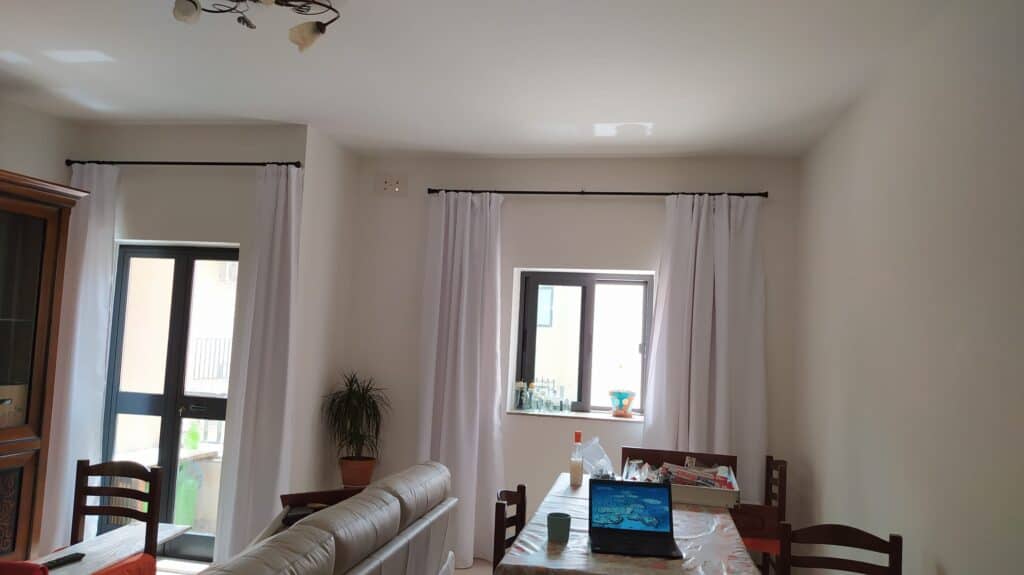
Here you can see white curtains ready on the wall…
…and a few weeks later I knew they weren’t ready!
Spicing things up – DIY of DIY Curtains
I decided to add a bit of flavour. At JB Stores I bought some decorative tape for sewing and jute flat rope.
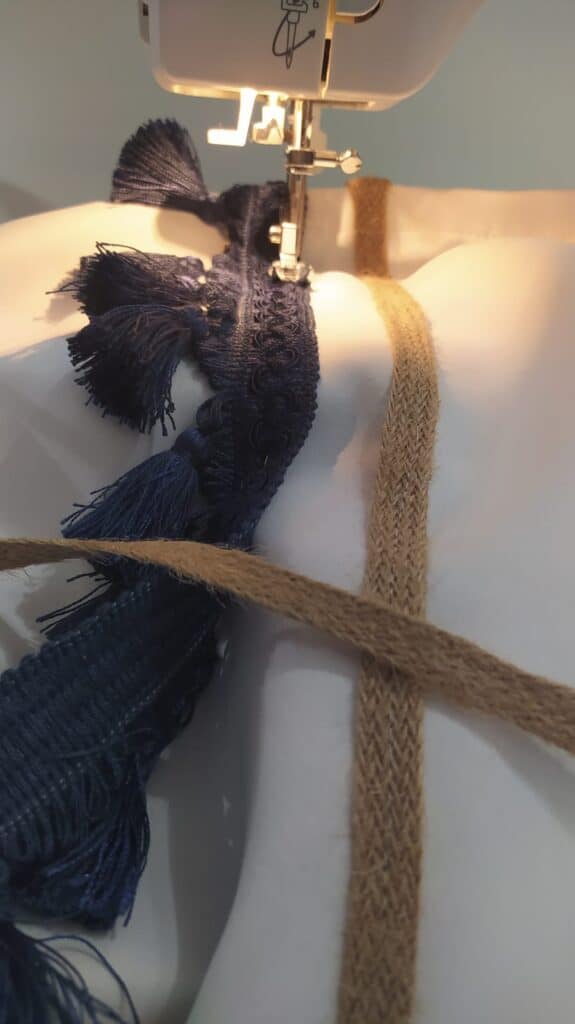
Using this trick I was hoping to liven up my window treatment, and that’s the result!
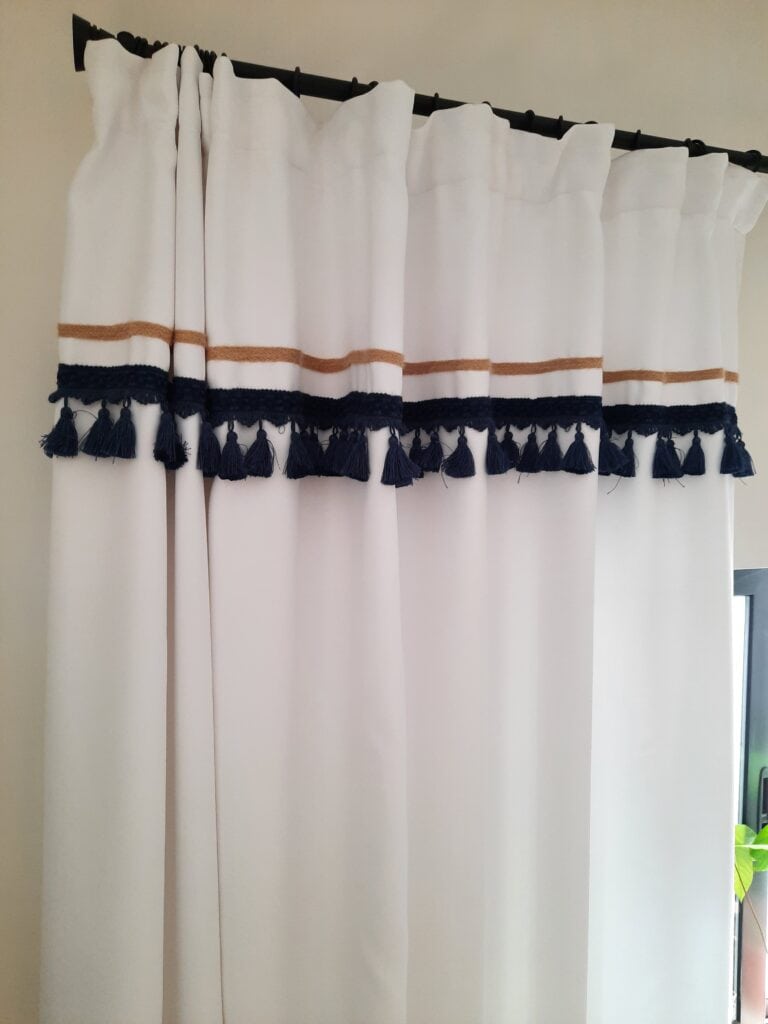
I am very proud and happy with the outcome, especially that I was sewing curtains for the very first time in my life!

Check some of my other DIY projects!
