

DIY minimalistic long desk
We have a really wide corridor, and I decided to use this space and accommodate my own area where I can work. This decision meant that I got to build my own desk! The previous owner had his desk as well in here. Although it looked a bit small in that space and I really wanted to use the potential of this wall and at the same time not obstruct the passageway. I prepared the project to DIY a long and narrow desk and this is how the idea was put into action.
Materials

I purchased from Homemate big and thick pieces of wood which was the most expensive part of this project. I was very happy with their free home delivery as I wouldn’t be able to transport something this big. Thank you Homemate! I got two pieces: 250 cm long and 60 wide, one for the top of my desk, and another one to cut out two 70cm long pieces for sides.

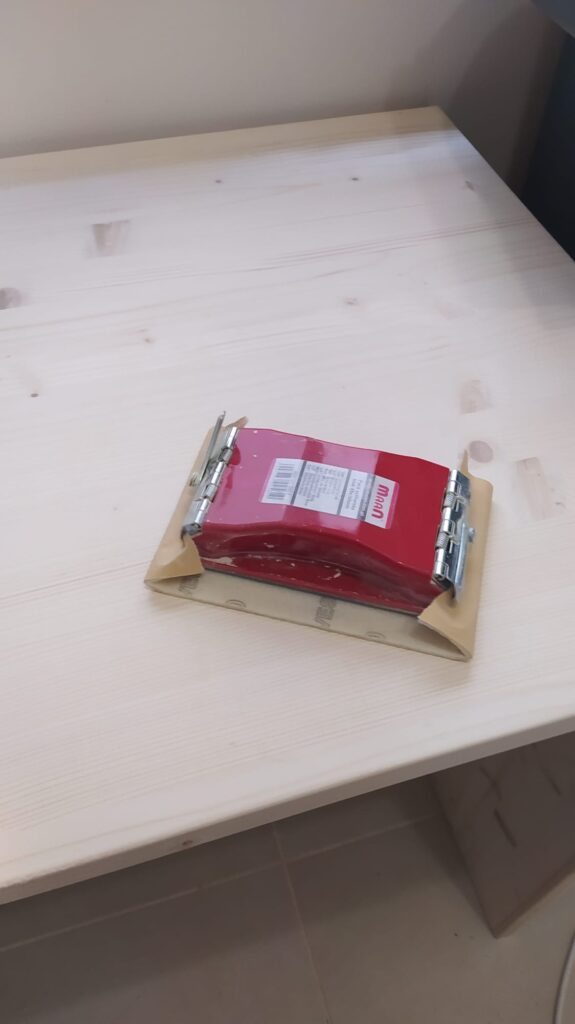
To make my own dowels I was cutting pieces of wood that I had for the purpose of supporting plants, and together with my delivery, I got 3 big angle brackets like the one below. I had in addition two flat and smaller 90-degree angle support, wood glue, and screws to put all brackets in place.

Building
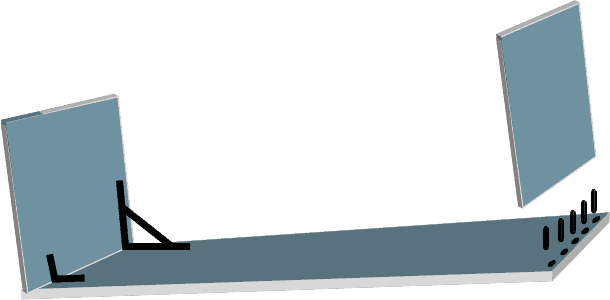
Here is a symbolic graphic of how I connected all the pieces. On each side, I predrilled holes for dowels and put wood glue before connecting sides. Used hammer to give extra pressure and make sure the dowels are sitting in properly. After the legs were glued, I put on each side big and small brackets. The small ones are for the front of the desk, so they don’t bother me when sitting, two big ones are for the backside. The last one, the third big bracket is to be mounted on the wall in the middle of the desk to make sure the desk can carry decent weight and can survive all of my projects.
My plan for this desk is to make it simple and minimalistic, as it will have many different fuctions in the future.
Of course, it was mounted on the wall, once I finished all other steps, as there was still some time to spent.
The next step was to sand it down with very fine sandpaper. This took a while, and I really recommend protecting your face with a mask before you breathe all the wood dust in.
My beloved step is to give it a stain color. The wood I chose was the cheapest pine wood. I was hesitating on what color I would like to give it. The final choice was Antique Pine by Liberon.
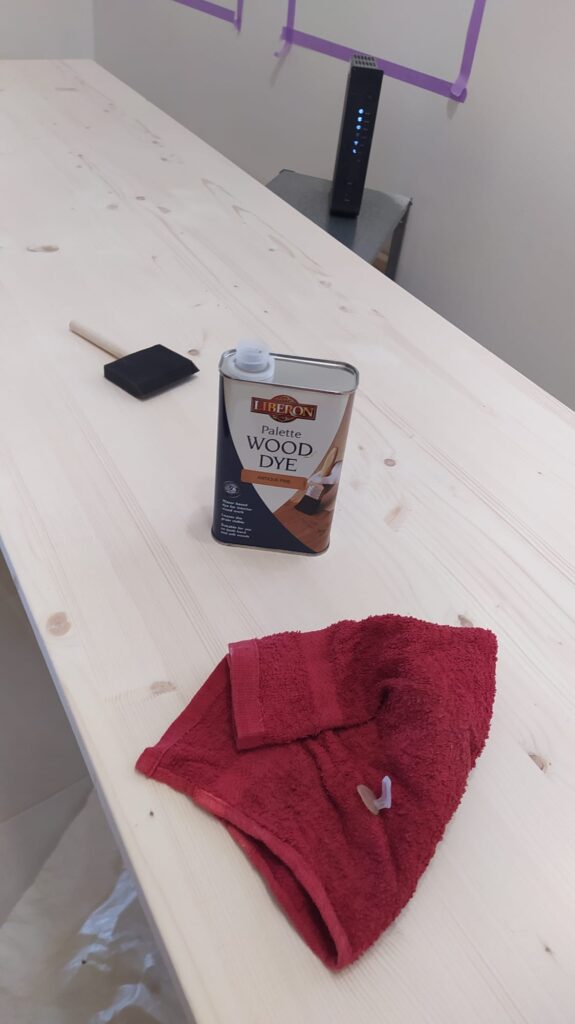
I put together around 3 coats after application waited few minutes and then wipe it down.

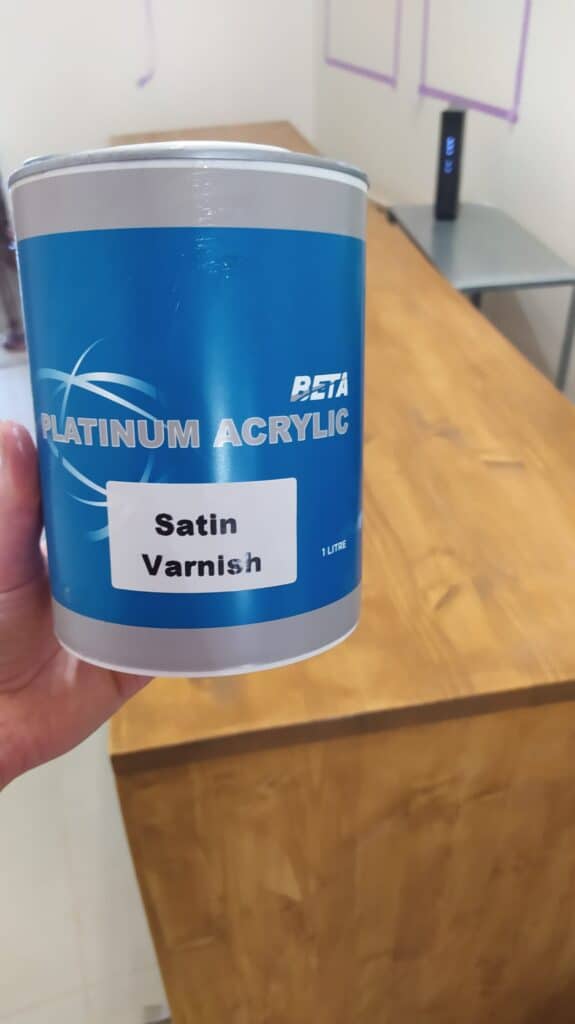
To protect my desk from the rest of the world I used satin varnish from Beta. A couple of days later I decided to put gloss varnish. I had a feeling it will be more practical.
DIY desk ready
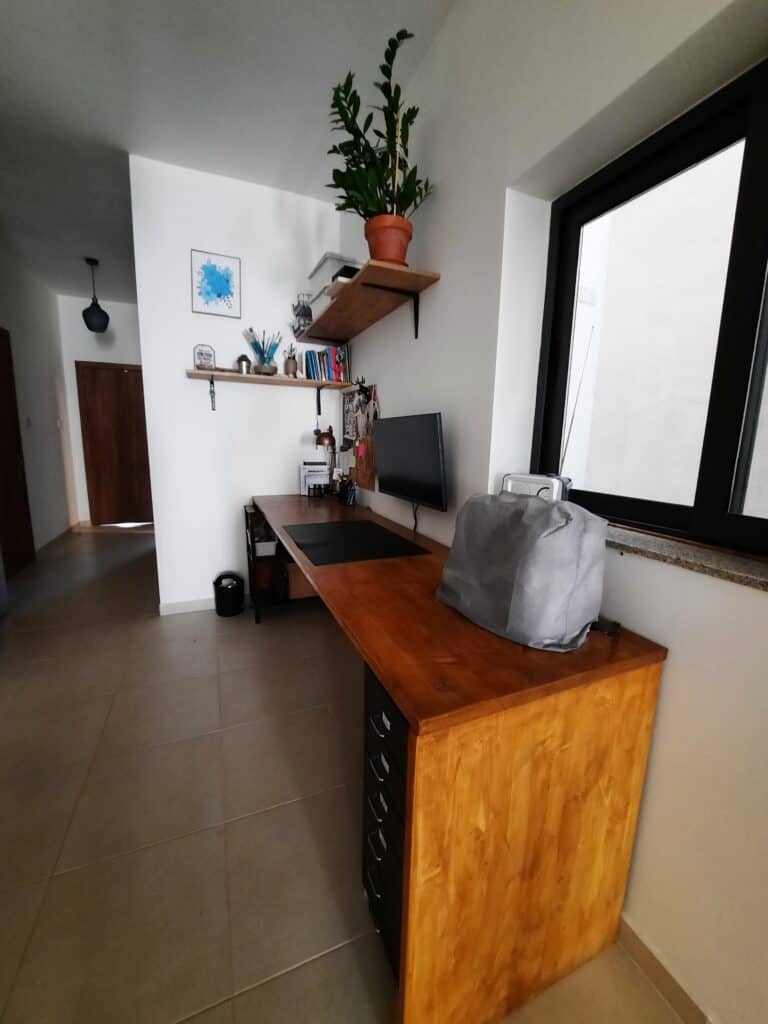
My new desk serves my well. I use it on a daily basis. Long space allowed me to distinguish sectors on my desk. The middle part with a monitor for work and graphic design, and next to it is my sewing machine. On the left is my stationary and mood-board area. Above, I mounted 2 shelves and below used a trolley with drawers and a small shelving unit from Ikea.

This desk is only 60cm deep, and it leaves plenty of space to use the corridor. I don’t think I would ever find a desk this long at the shop and not send a fortune! I am very proud of my minimalistic long DIY desk! It was one of my favorite DIY projects and super satisfying to do.
And what do you think about my DIY desk? Please leave a comment and don’t forget to check my other projects! Thank you for visiting my blog!