DIY branch chandelier
I love the idea of mixing natural, raw woods in home design. I decided to make this DIY branch chandelier way before we moved into our new apartment and at the same time, it was one of the biggest projects so far. Making this lamp was time-consuming but very satisfying.
Resources
To make this lamp I needed:
- Branch (luckily we found some dead piece next to the trash!)
- Jute rope to cover wires
- Electric wire (I bought around 8 meters)
- Tape for covering wires, in addition, I solder wires together
- Bulb sockets
- Woodworms treatment
- Covers for bulb sockets (as an option I wanted to give more style)
- Edison bulbs
- Pull chain switch (for us was necessary as this chandelier was to be hand in a new place where there was no lamp before, and we wanted to be able to control this light)
- Metal chains and hooks to hang it.
Preparing the Branch
This was a very long process in itself. Firstly I cut clean the edges of my branch to the size and shape I wanted the chandelier to be. Secondly, I had to debark it (I left it soaking in water and then removed bark manually, and using sharp tools). After debarking I discovered as the color of the wood was white! It was a big surprise and something that I didn’t want. I knew I will have to stain it to get the results I want. I could see woodworms playing around on my branch, hence I soaked it for a few days in woodworms treatment.
Unfortunately, I do not have any pictures from this stage! After the wood was worm-free, I sealed some holes with wood filler just to make it look nicer and stained it all in antique pine color. I put on a matt topcoat to protect the wood and make it look more natural.
Wiring
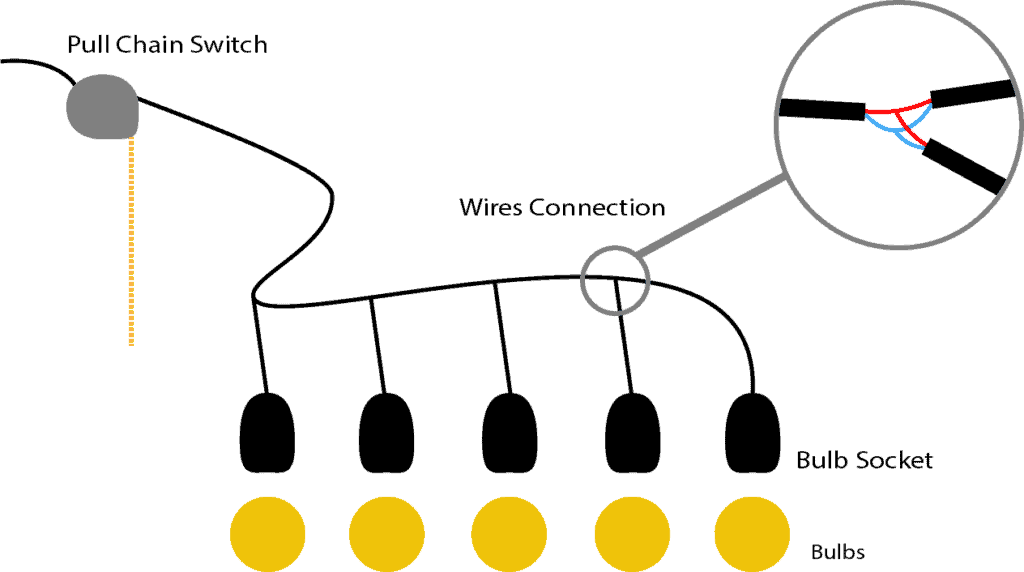
This was fun! My first more advanced experience with electricity. Below, I created a visual graphic, explaining how I connected all the wires. I wanted the chandelier to have 5 bulbs that would be lit up all at the same time, and it made my work a bit easier. Firstly I made connections between 5 pieces of wires with the bulb sockets. The length of wires was uneven, some were a bit longer, some shorter. Then one long wire I was connecting as on the picture to the shorter pieces, opening the long wire every 10 cm for an entry.
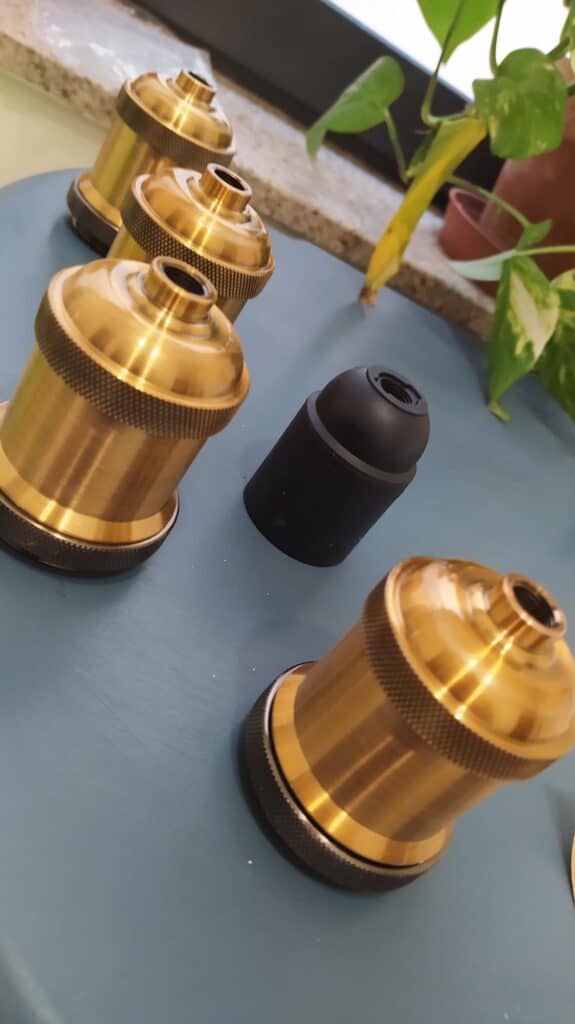
Later on, I decided to spray paint golden covers for bulb sockets black. That’s why in the final picture there are no gold accents.
I attached a pull chain switch to the end of the core and another piece of wire that will be going up to the ceiling. At this stage, I could cover my wires with jute rope to give it a nice old-fashion look.

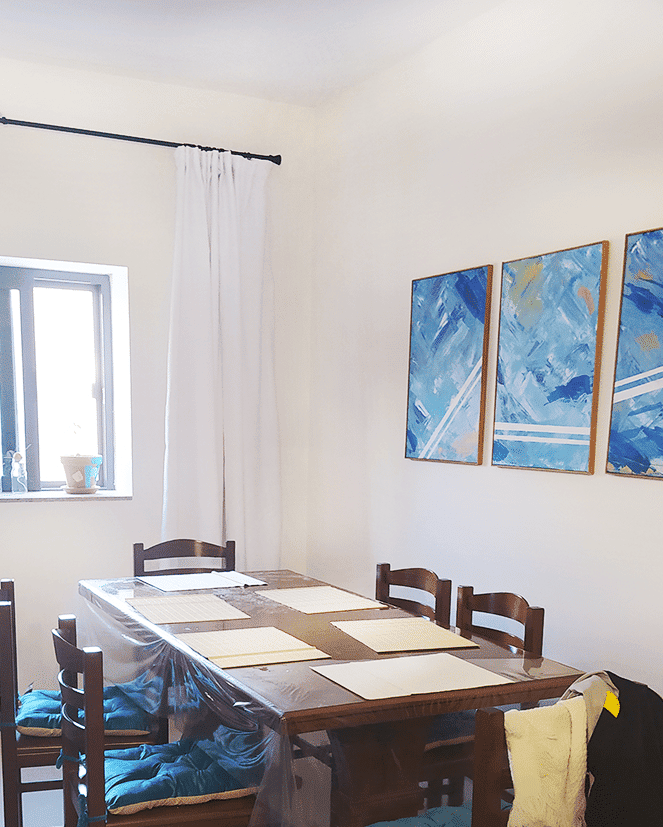
This is how the space looked before we installed the light on the ceiling. Pretty empty, right?
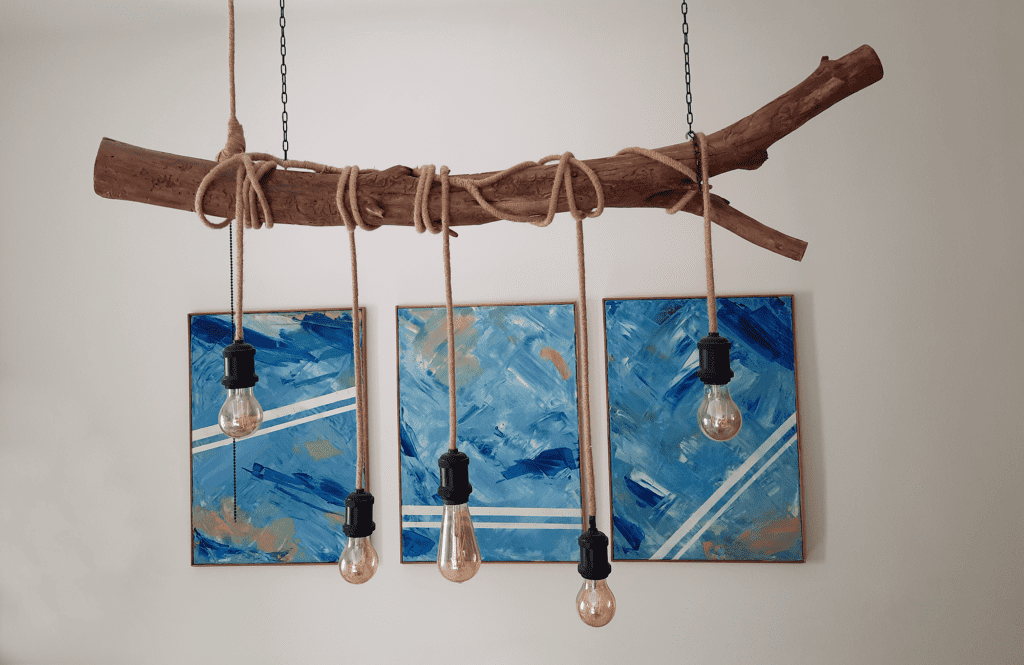
The branch chandelier is almost done
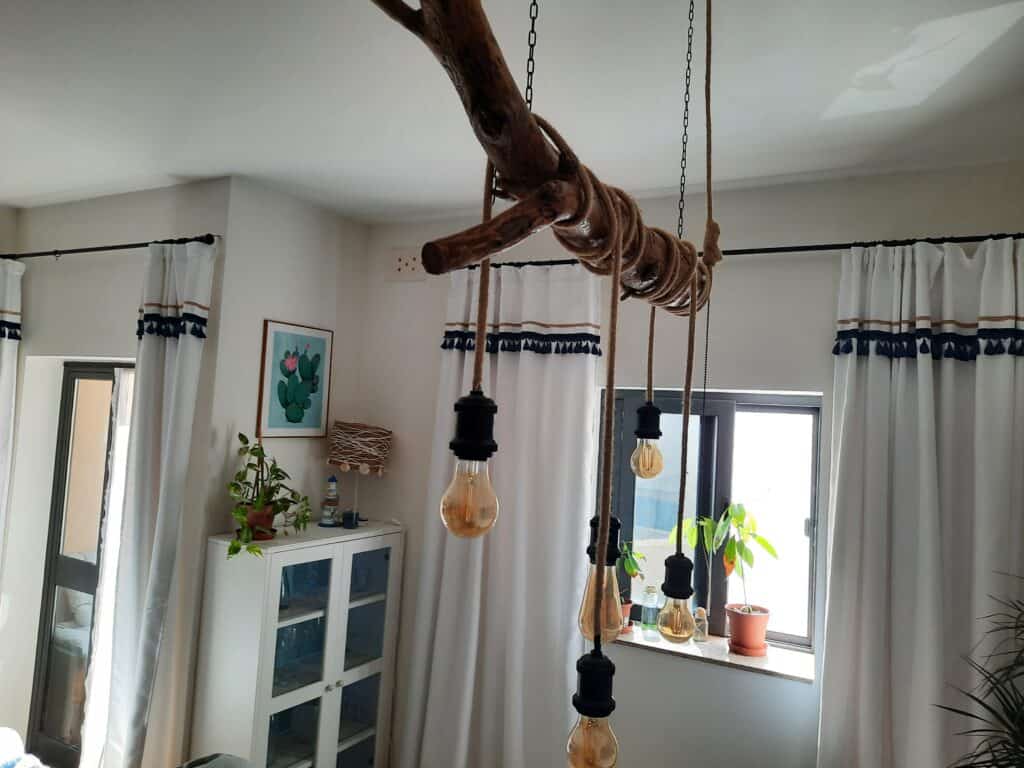
Now was time for testing. Before installing anything on the ceiling I attached a temporary plug to see if everything is working properly. I got some Edison bulbs to get the look I wanted and voila!
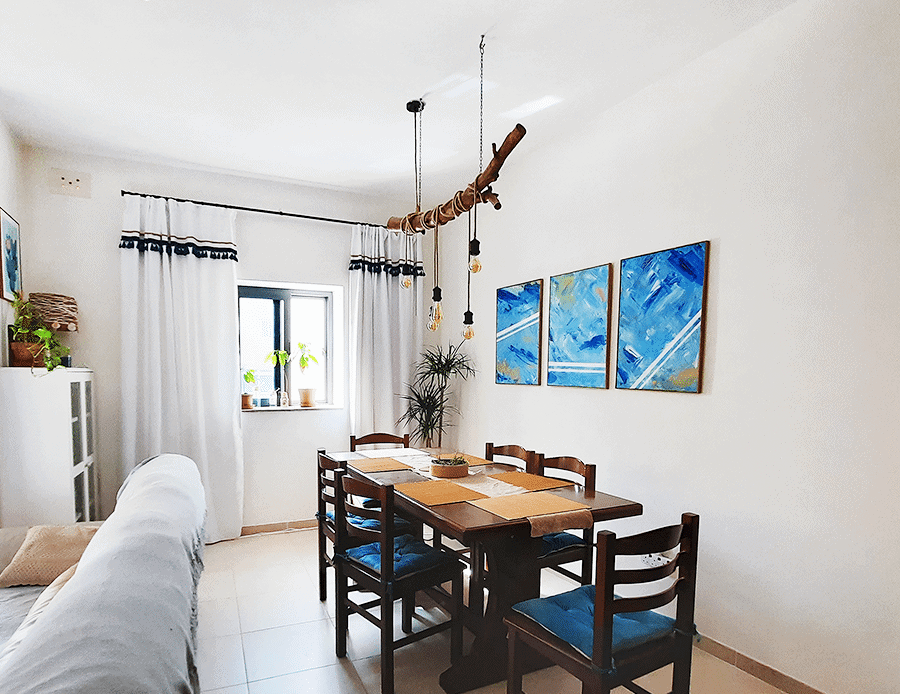
Almost voila… We had many different lamps and chandeliers to be hung and some new spots on the ceiling to be done, and for that job, we got a great handyman. He did it all in no time and it was pleasant to watch someone else doing this job for you! We hang our chandelier using metal chains and hooks which I spraypainted before to be black matt.
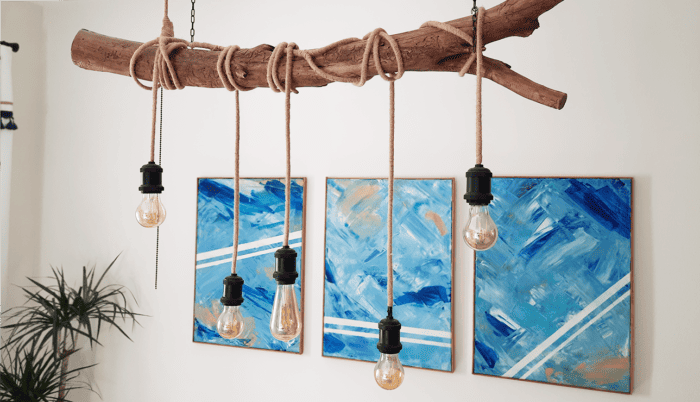
I am honestly in love with my DIY branch chandelier! What do you think of this project? Feel free to leave a comment!
Check out more of my DIY projects here!