DIY bench for a tiny balcony
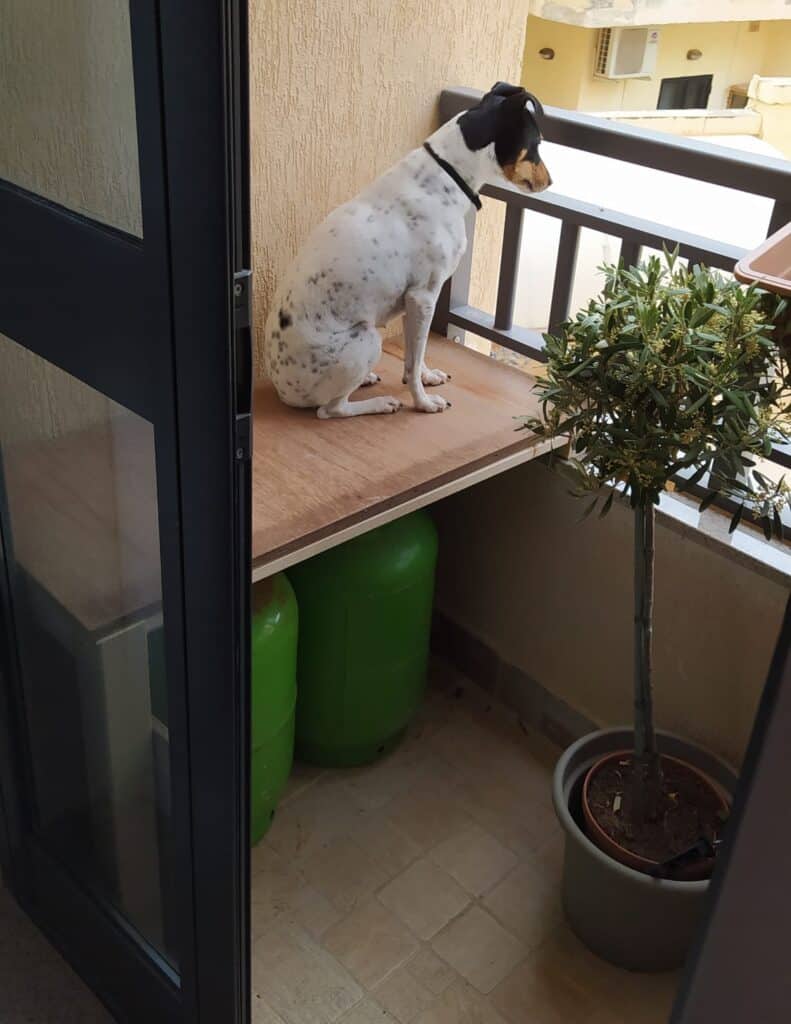
This is our front balcony, or I should rather say – a mini version of a balcony. We are still happy because at least it exists and it would be much sadder with only a window! As you can see in the picture below, the balcony is used to store and connect gas bottles. We have a gas stove, so this function of a balcony has to stay. However, it is a front balcony, and I wanted it to be cozier and have some space to sit. That’s how I got an idea to DIY a bench.
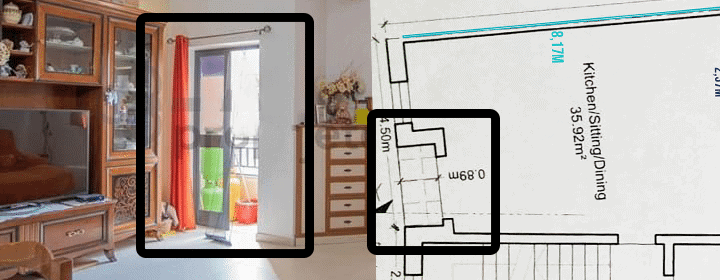
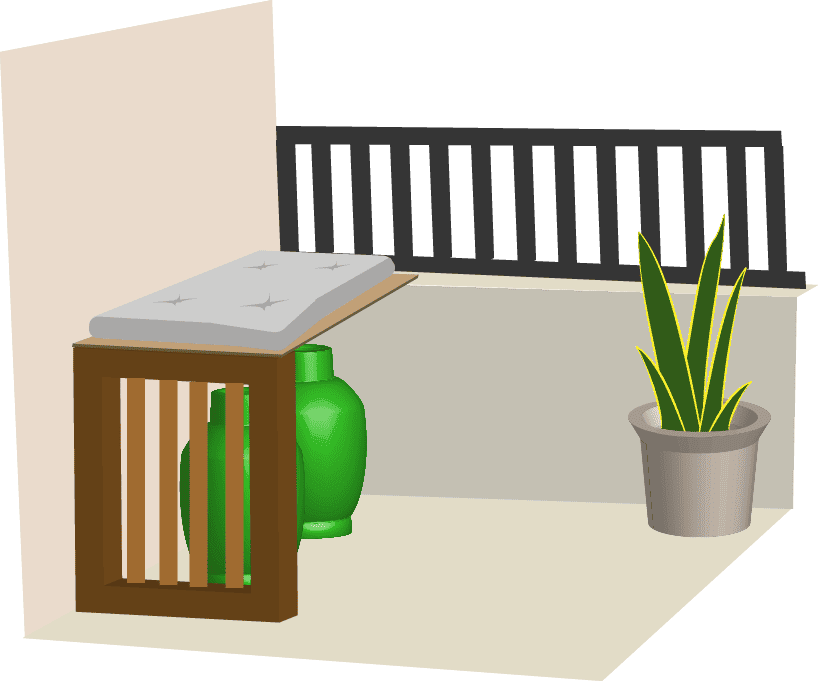
Above you can see plans of our super small balcony and how it looked when we just moved in.
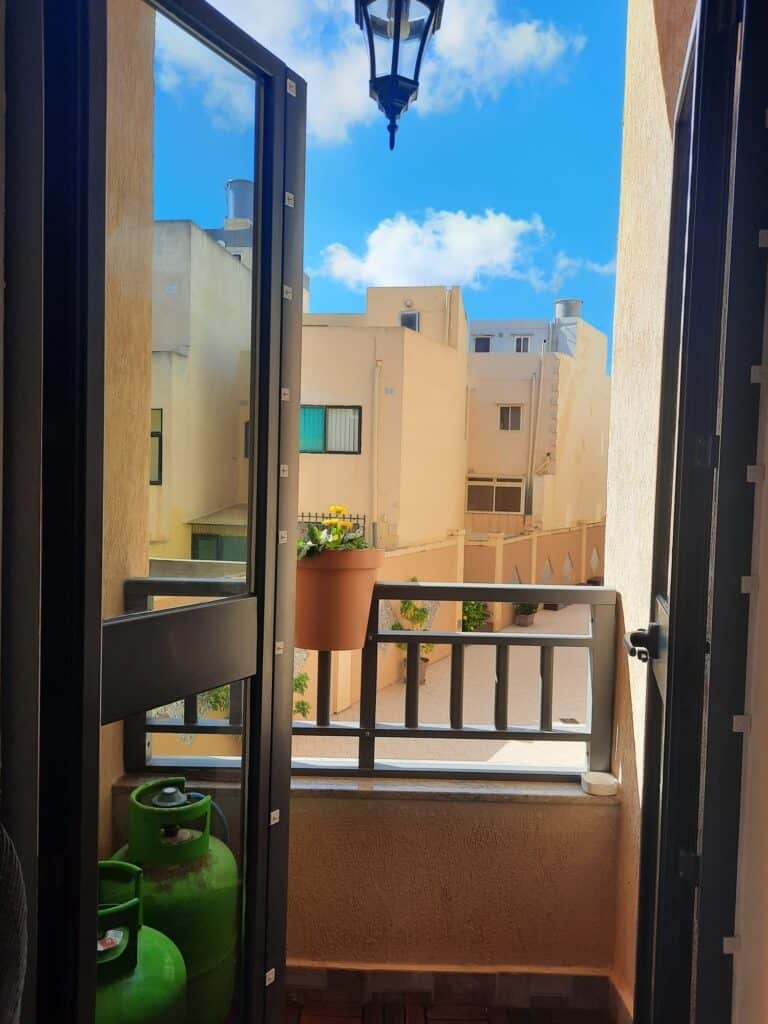
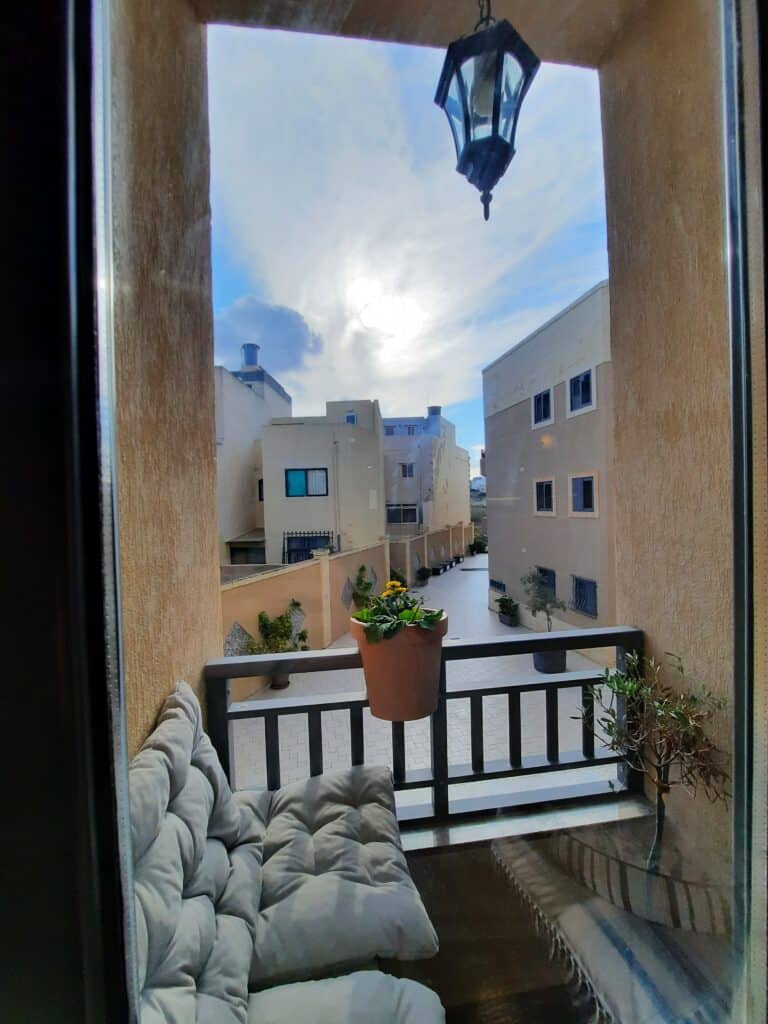
The picture above shows the size of the balcony, however, the new lamp and plant are already visible.
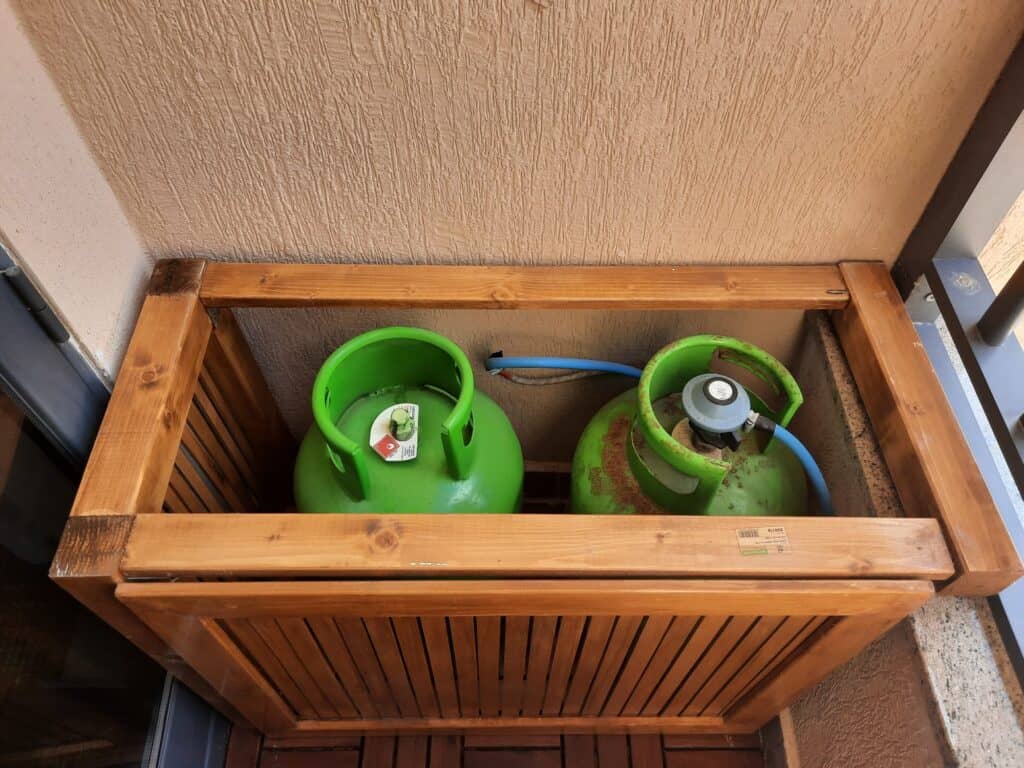
My idea was to make a bench that would fit inside two gas bottles, but can be used to sit on top. It needs to be stable, cover bottles, but not to be fully sealed as we still need some air circulation in case of gas leaking. The balcony is so tiny, that I have to maximize the space use, and use a small wall on one side as a support for the bench.
Bench DIY
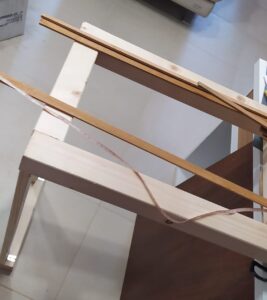
After measuring space and gas bottles, I started off by cutting wood pieces for legs. I got all the wood for the frame from the Homemate. We created 2 rectangles, one longer for a top part to support the seat, and another shorter as legs on one side.

I was using mixed techniques using screws and wood glue to put rectangles together. My idea was to cover the side of a bench with small wooden straps, so it gives some coverage but at the same time allows air circulation.
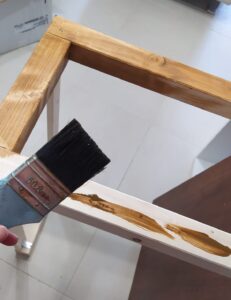
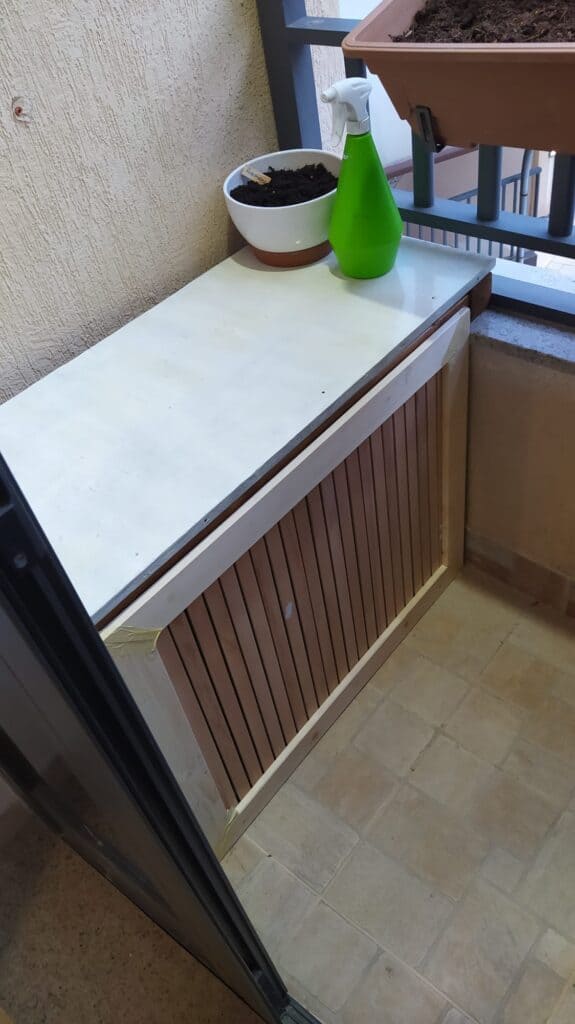
We stained the base of the bench with Antique Pine wood stain, sealed it, and my base was ready.
Here you can see the ready bench base. One side is supported by random boxes – this side, later on, will be using a balcony wall to stand on.

Testing
We had some old chipboard in the garage, and I needed to cut out the right size and sand it down. I put all the pieces in place to see the functionality of this project. Beauty was making sure that this bench is good for her too because she’s such a great helper!
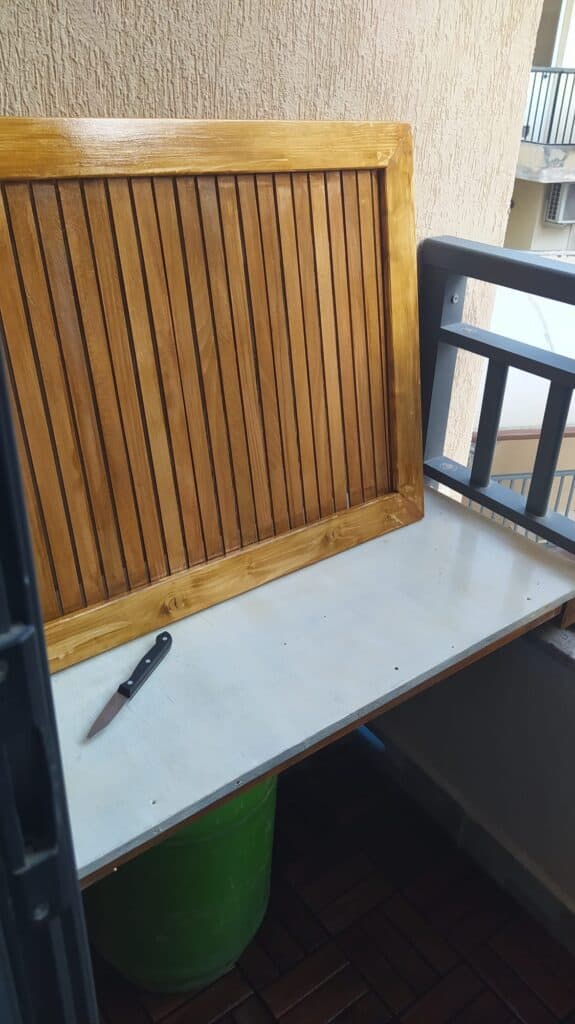
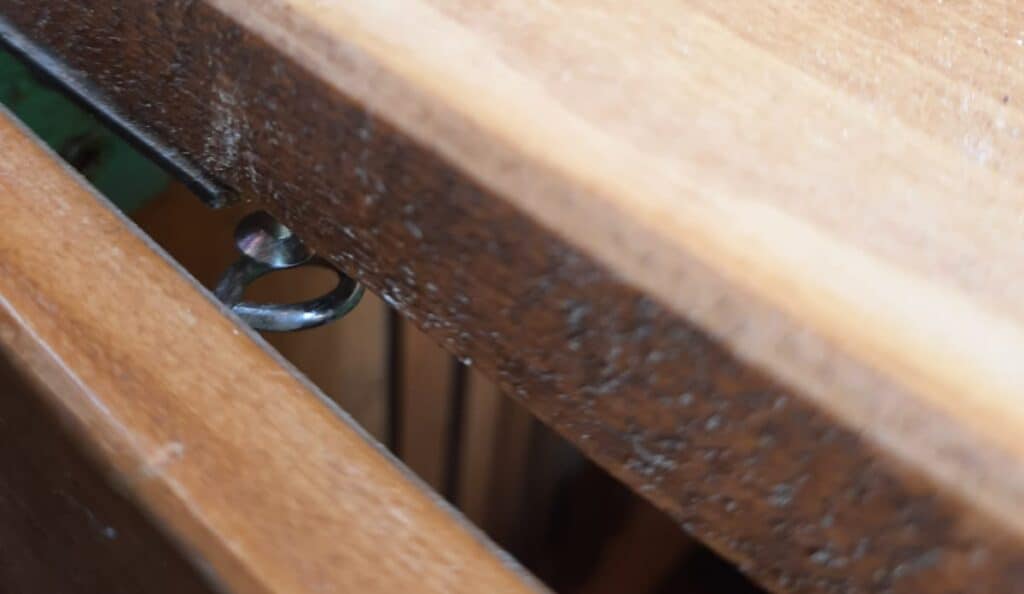
The next step was to create a door that can be installed to cover the front part. There is not enough space on the balcony to have a door on hinges, so I will be installing small hooks that I can hang on the door if I need to change the gas bottle.

Here is how all together would look like. Meanwhile, I painted white and sealed the top cover with an outdoor sealer.
In the next step, I stained and varnished the front door, and leave it to dry.
Before I finished the bench project I decided to make this space even cozier. I purchased from Megastore wooden floor and installed it all by myself. To protect it from the rain, I put on a wood sealer.

The final touch
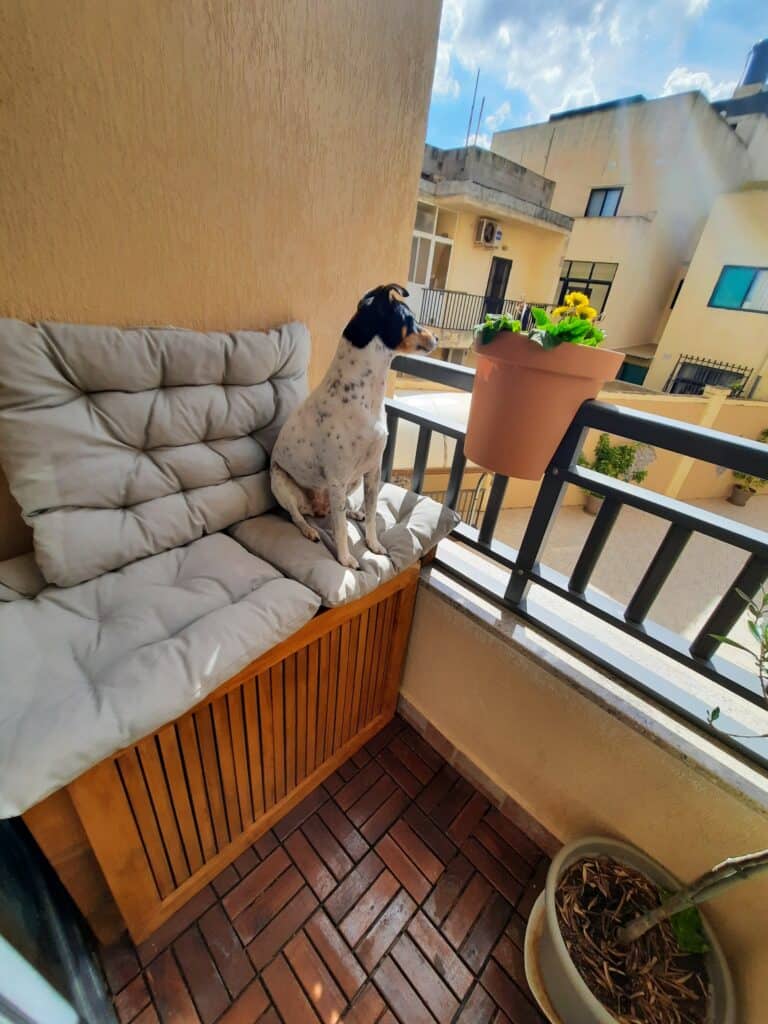
My final touch to my DIY project on this tiny balcony was to add some outdoor cushions from Ikea (here you can find my blog about purchasing Ikea from Malta) and exchange the lamp. I didn’t like the previous light. It was very simple and minimal, very high up on the ceiling. Luckily I found a perfect new lamp from the garage sale of my neighbor.

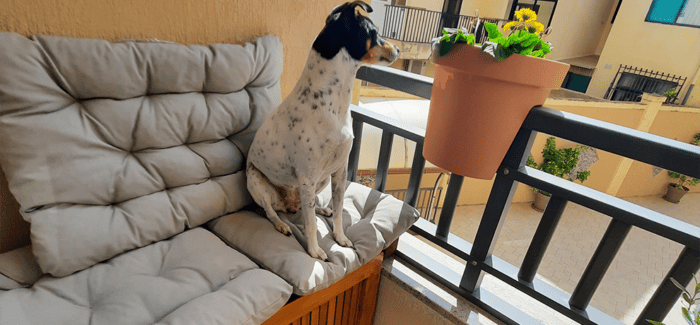
Let me show you our final result! I am very happy with the outcome, and what do you think? I love the idea of working with small, compact spaces to make them functional. Until now our tiny balcony gives us great joy and a cozy place to rest for Beauty.