
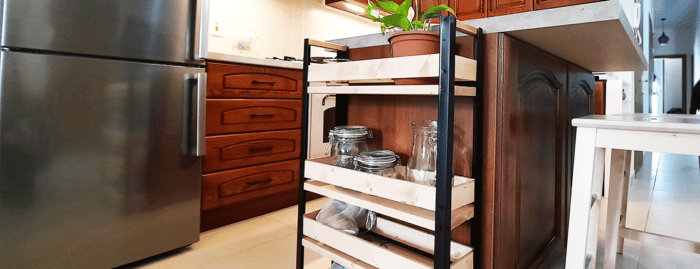
Building easy DIY kitchen trolley
Kitchen trolleys are super practical and smart to use and there is quite a big choice to get them ready from different shops. However, I had very specific requirements for my trolley, as I wanted it to be slim, yet tall and made of wood and metal to match the rest of the kitchen. I decided to build a simple trolley by myself using cheap materials and some over-lefts from my garage. It was time-consuming but relatively easy DIY.
Materials needed for DIY

I decided to buy cheap wood from the nearby store (Kenneth HS) as they could cut for me pieces to the length I needed. I wanted to make in total 4 shelves (for one shelf I used the scrap piece I already had) and the surrounding wall around each shelf.
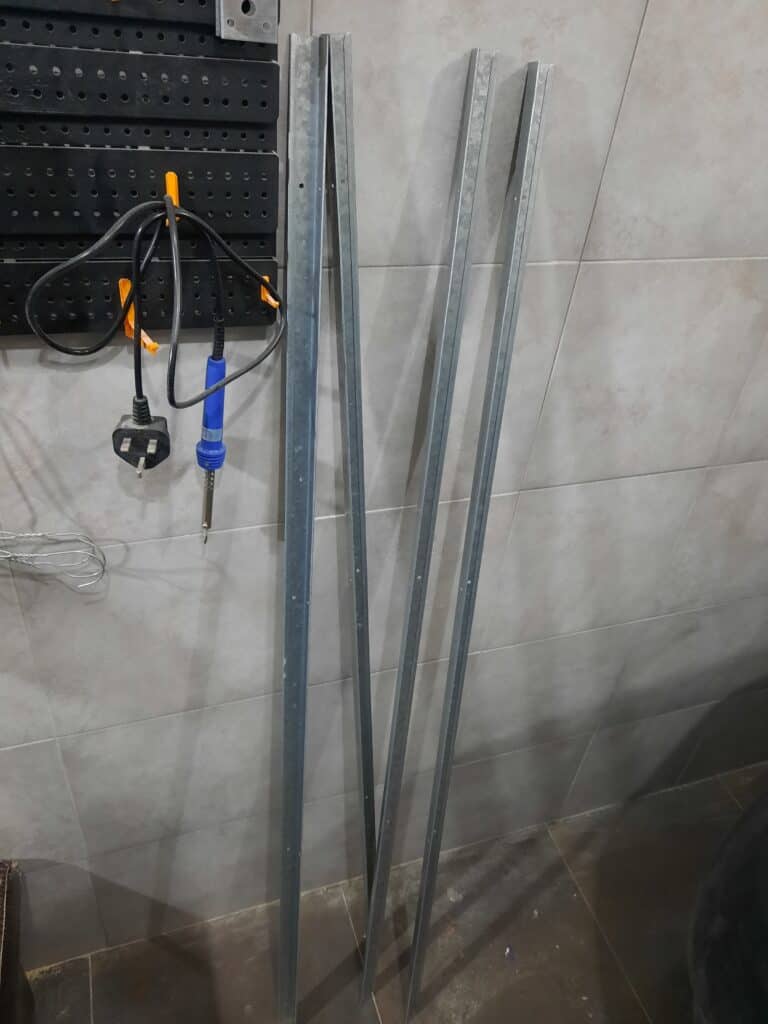
For the trolley skeleton, I used aluminium shelving pieces that I already had from Ikea, this is something you can get from the metal store for a probably even cheaper price.

Since it’s a trolley I needed some sort of wheels to mount, and luckily I had some already at home.
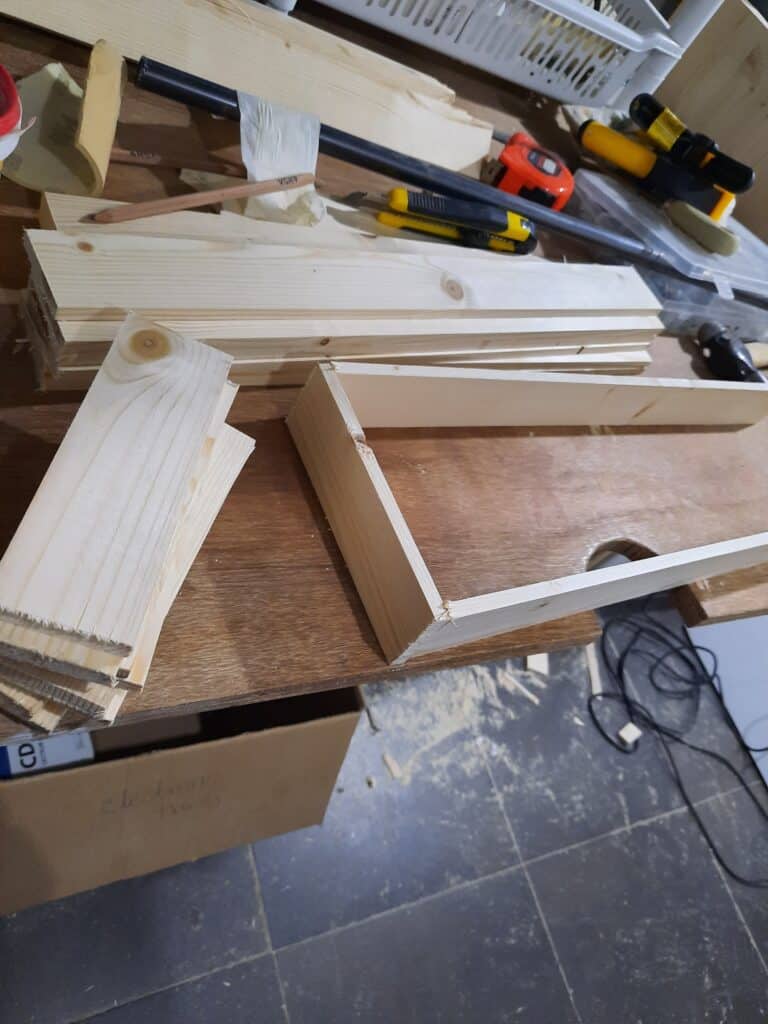
Cutting pieces
The first step was to cut the flat, angled, metal bars to the length I needed. To estimate the length I had to add the height of wheels to see how tall my cart would be. I used my Bosh multitool with the metal end piece to cut it and sanded the rough edge with the metal sander.

I cut all pieces of wood to the same length plus 8 shorter pieces for the surrounding parts.

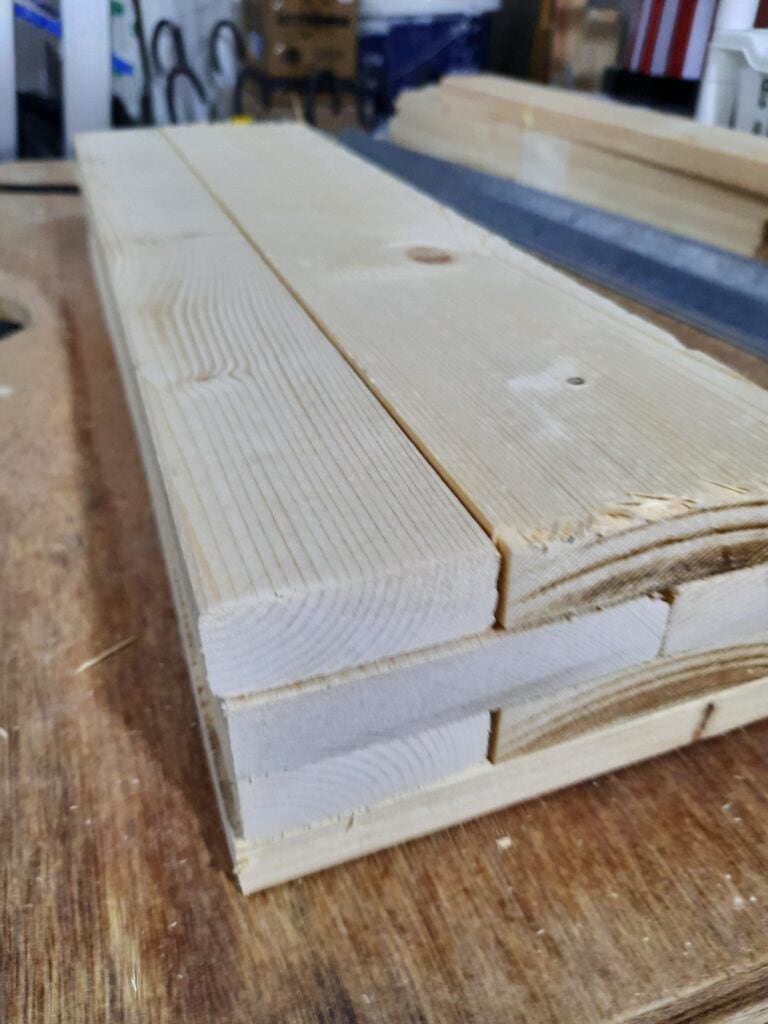
To get the width I wanted I combined two different pieces of wood, which I will be glueing later on.
Next step
The wood I had wasn’t perfect, so I filled up with wood filler the defects.

I installed using screws all of the wheels on the bottom shelf, which was the only one I made from the wood piece I already had in my garage. This was a super easy and satisfying step.

The remaining shelves I had to glue combining together two different width pieces. I used Gorilla wood glue and clamp the pieces together for around 3 hours.
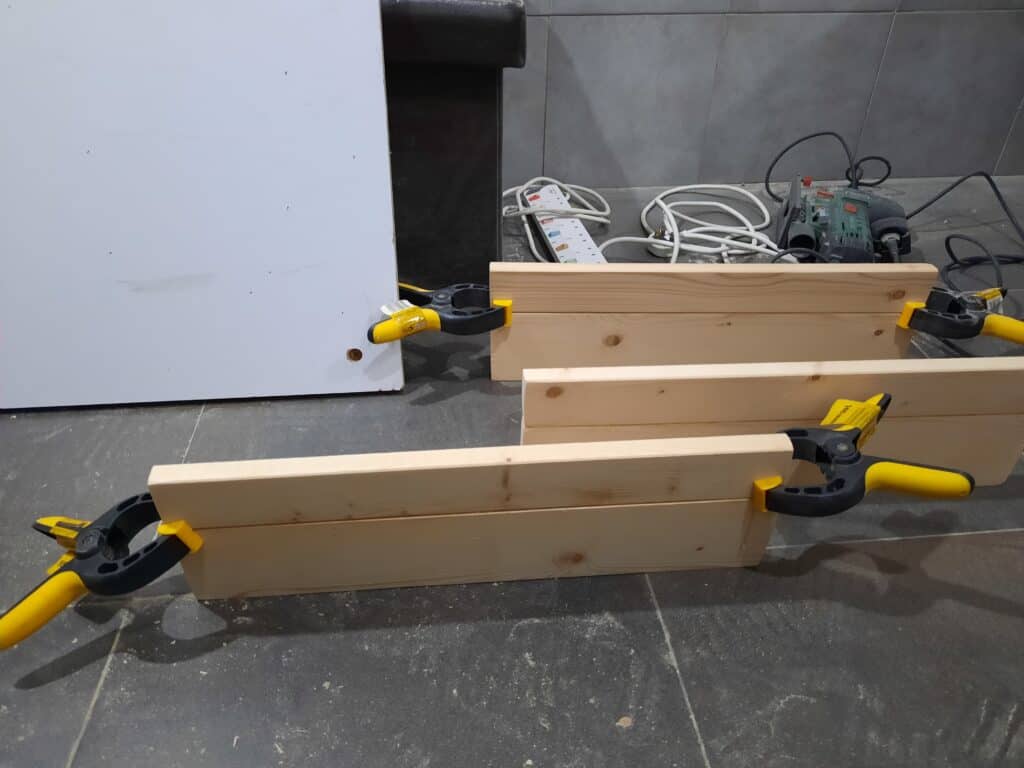
In the below picture, I was making sure the pieces that will be used as a shelf surrounding are matching the size I need.
Sanding, staining and painting
Once all wooden pieces were cut to the perfect size and glued, I sanded them down using fine sandpaper. To give them a nice colour I used Blackfriar wood stain in n antique pine shade.

Painting with Dulux Trade wood varnish two coats was to increase damage and cleaning resistance as well as to add a smoother finish and close the wooden pores. After all of the wood was dry I used once again very fine sandpaper to give extra smoothness.

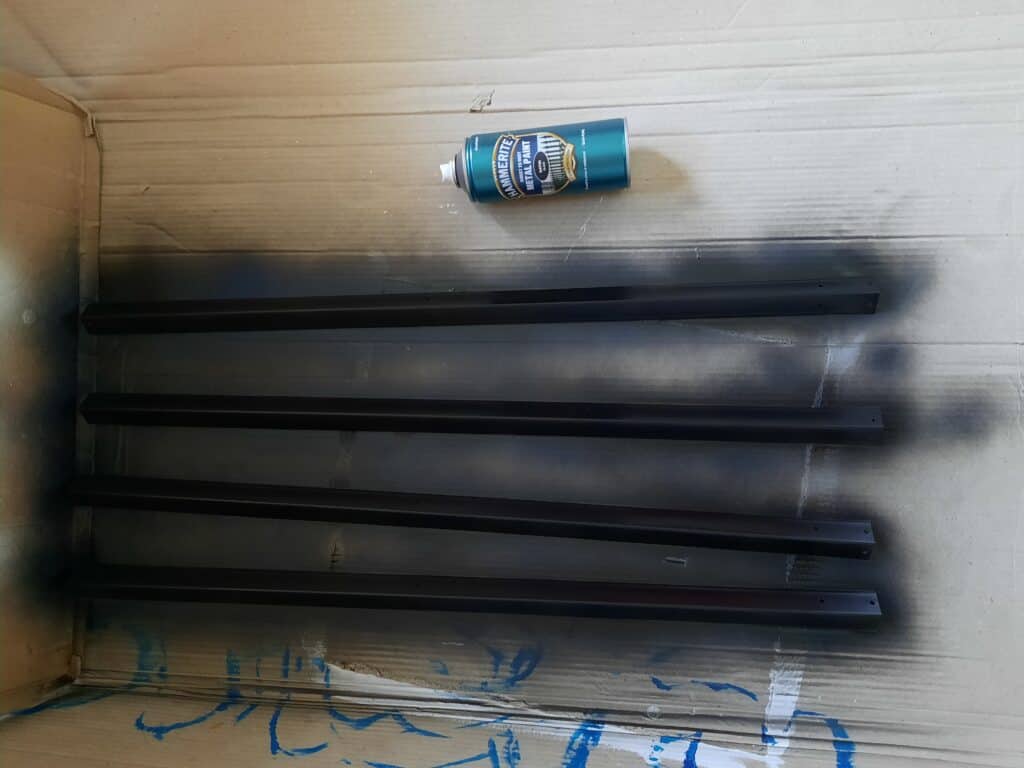
Metal parts I wanted to be black matte just as the other metal elements in our kitchen. I spray painted them with Hammerite black paint, applying 3 thin coats.
Putting pieces together
Now was the time to drill holes in the metal bars for the shelves and screw them in place using 2 short screws on each corner.
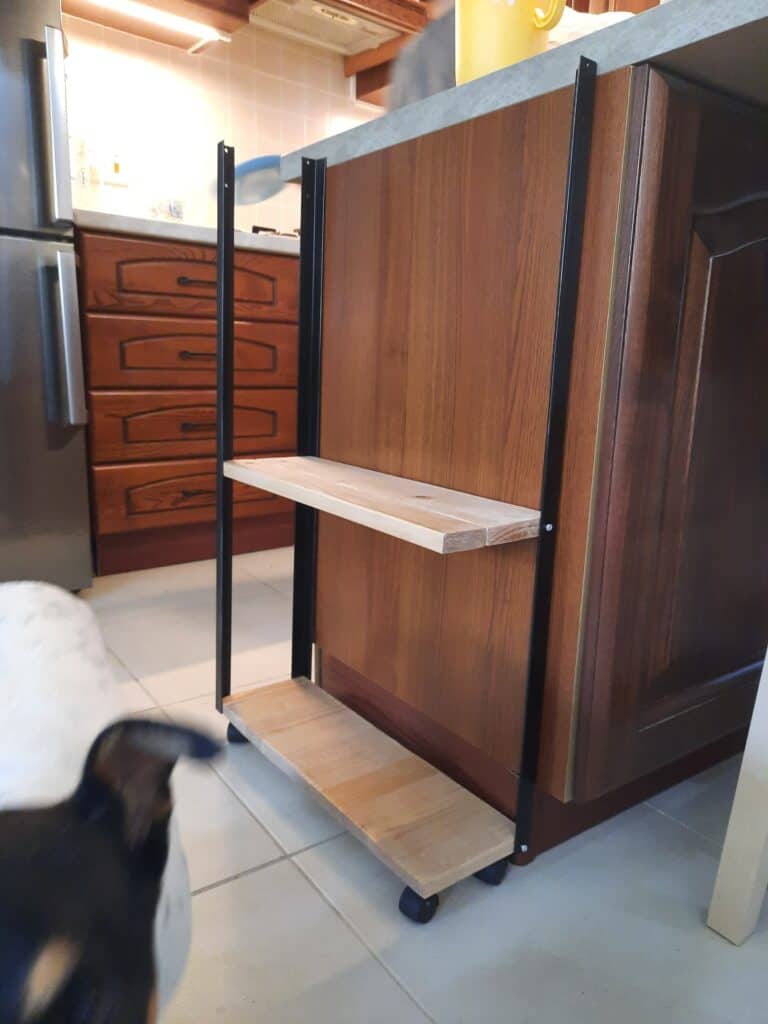
After installing all shelves I needed to screw in place the surrounding borders for the shelf. To make sure they are all installed at the same height I placed a piece of wood underneath. In addition, I used a bit of wood glue in the corners to make sure they are well connected.
I used two round wooden pieces as trolley handles. I sanded them down and stained them just like the other wooden pieces.
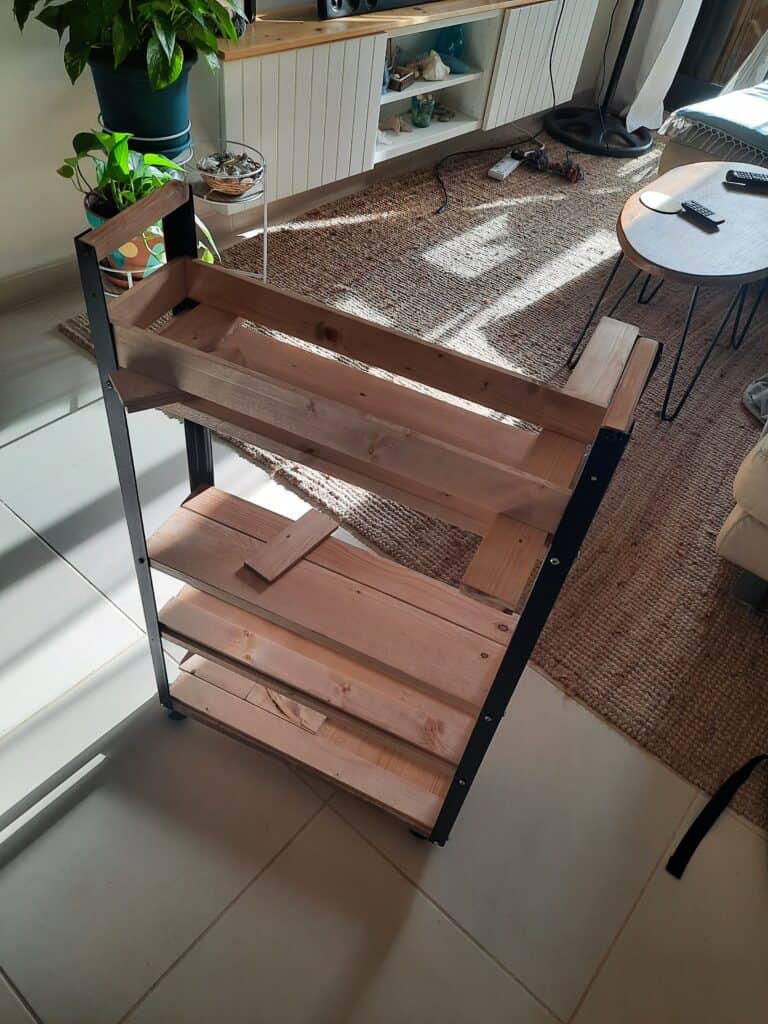
My easy DIY kitchen trolley is ready
It was a great idea to make it by myself. I am totally in love with my new kitchen trolley. It is not perfect, as it would be coming from the store. The pipe already had some predrilled holes which I didn’t need and they are still showing. The screws I pained black to make them less visible and it made a great difference to the overall look!
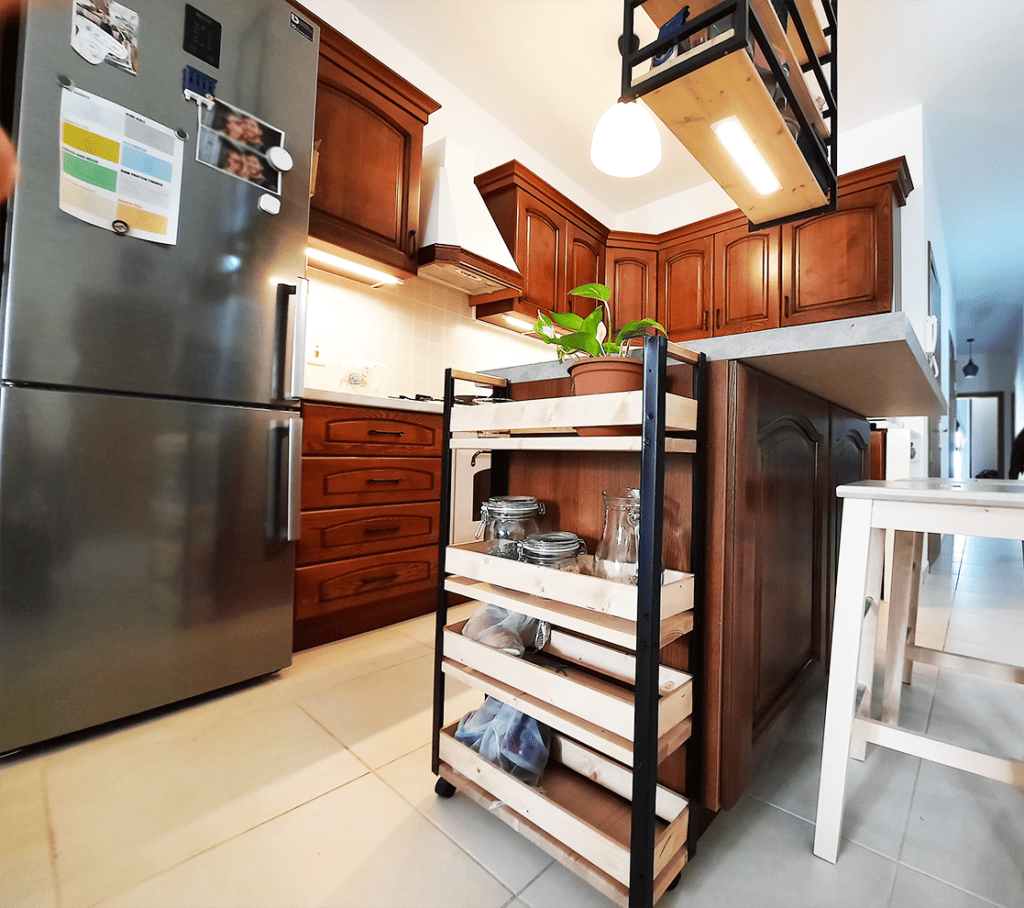
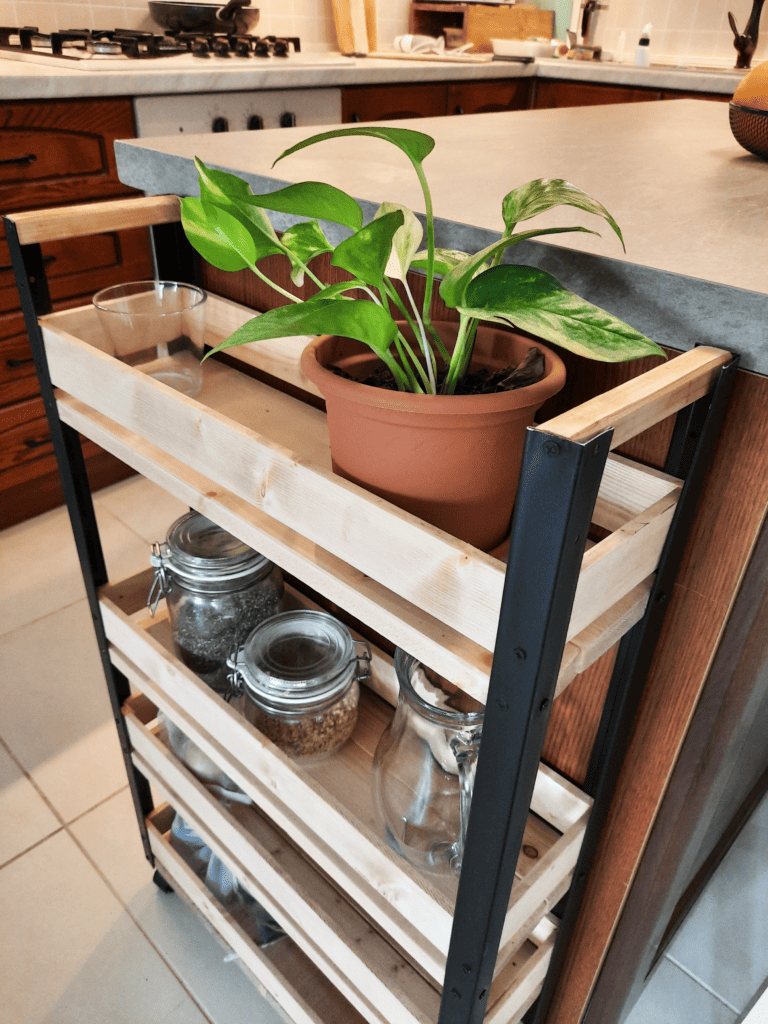
I am very happy with the outcome! I think it’s an easy and cheap project, especially if you have specific requirements for the trolley. Tell me what do you think of the outcome?
You can check out other DIY projects here.