How I sized down large skirt
Have you ever stumbled upon a piece of clothing that you absolutely loved, only to find that it was a size or two too big? Well, I recently found myself in this predicament with a stunning skirt that I just couldn’t resist. Rather than letting it languish in my closet, I decided to take matters into my own hands and embark on a journey to resize it – and the results were nothing short of fantastic!
During a Saturday walk with my friend, I found at Mark and Spencer this nice foxy skirt on sale. Lately, I am in love with skirts and they started to create a big part of my wardrobe. It’s just something that is super comfortable, but very womanly and stylish. It can be styled with a simple tee, oversized jumper, or coat. I really liked that skirt but it was way too big, however, the colour was so lovely that I decided to buy it anyway and size it down.
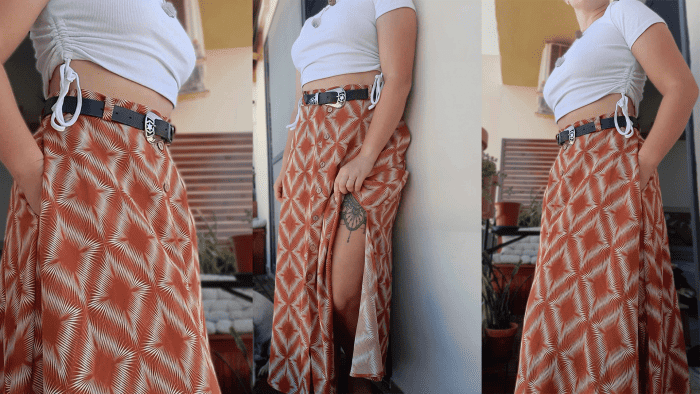
This is how the skirt looks on a model—>
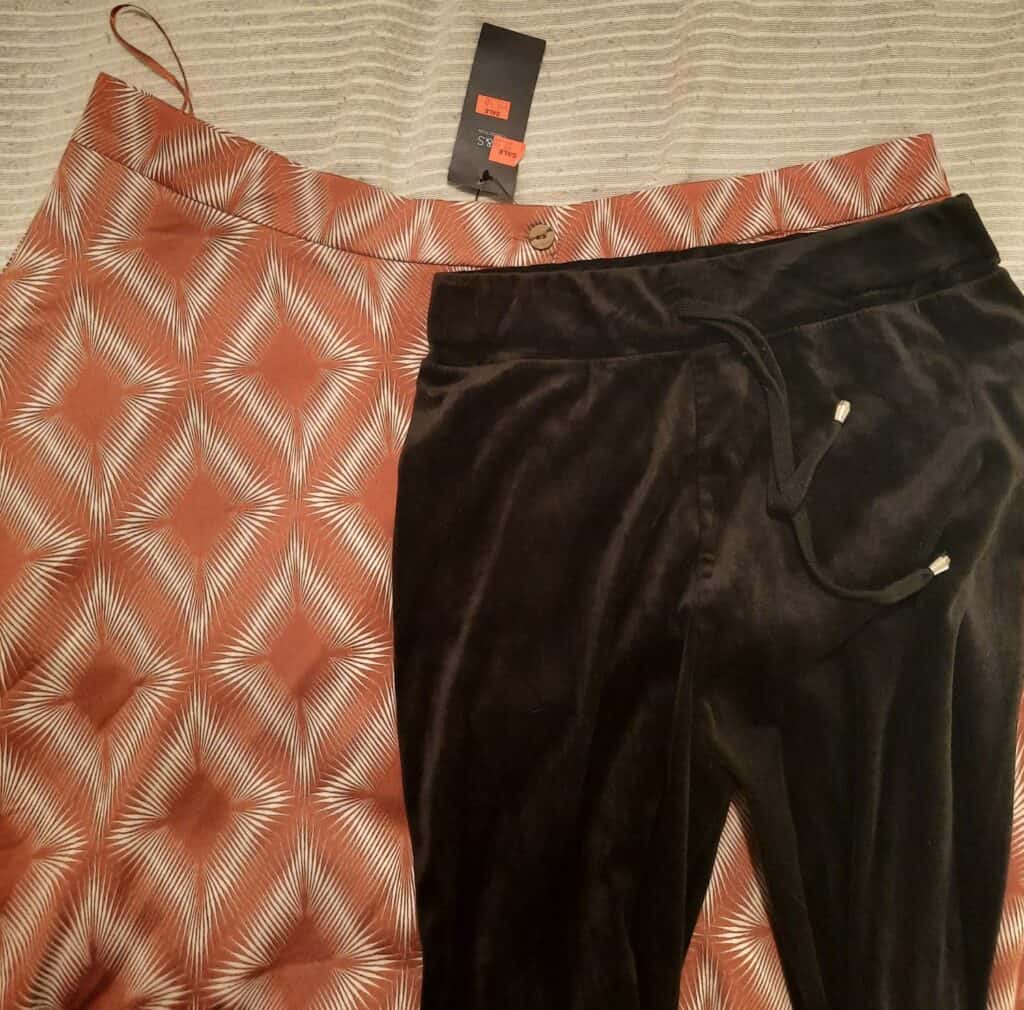
You can see how much bigger was a skirt comparing it with my pair of joggers.
Cutting to reduce the size
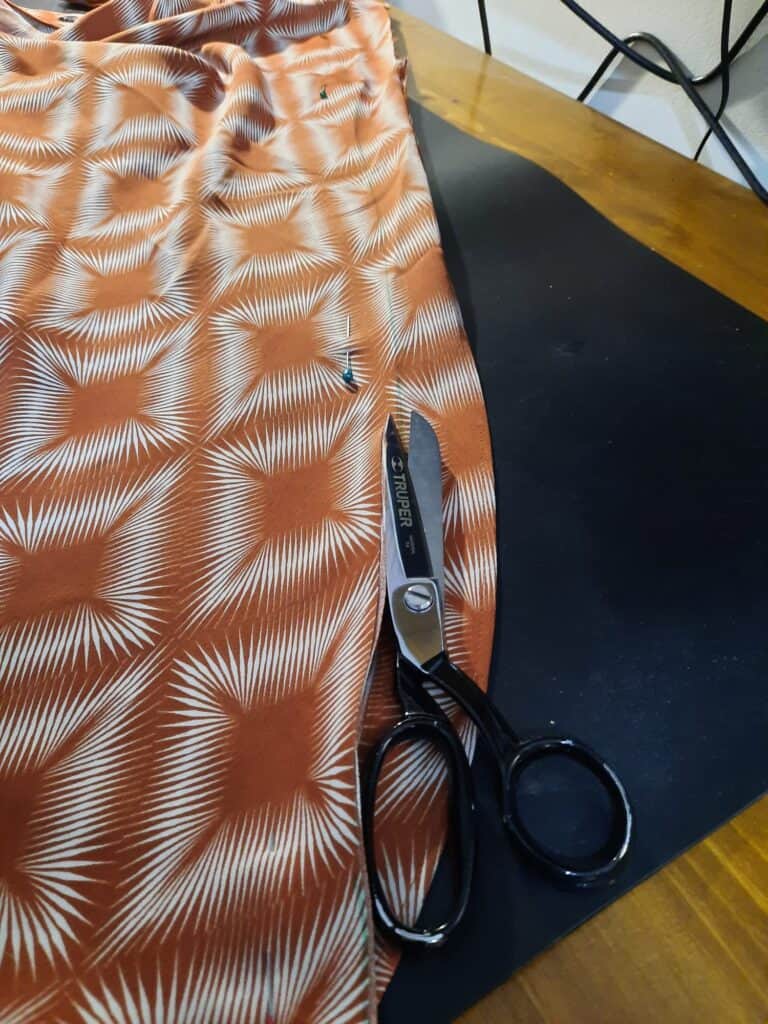
After taking measures of how much smaller my skirt needs to be, instead of cutting immediately, I spent some time with a seam ripper to release the pockets and the waistband. This way I can reuse them and have a cleaner finish.

After my pieces were apart, I cut off from both sides the excess of the waistband and a little bit of side textile. I left around 1 inch extra for the seam.
Sewing back parts of the skirt
I sew in the pockets back again and seemed sides together.
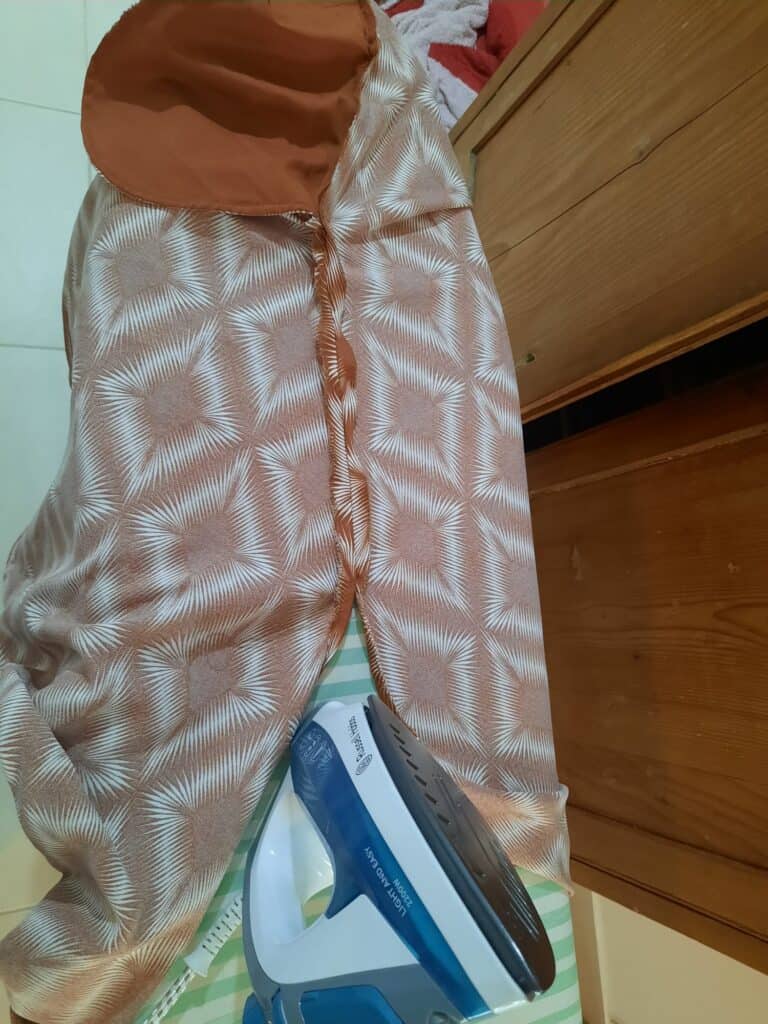
I finished the sides leaving nice side cuts as it was originally.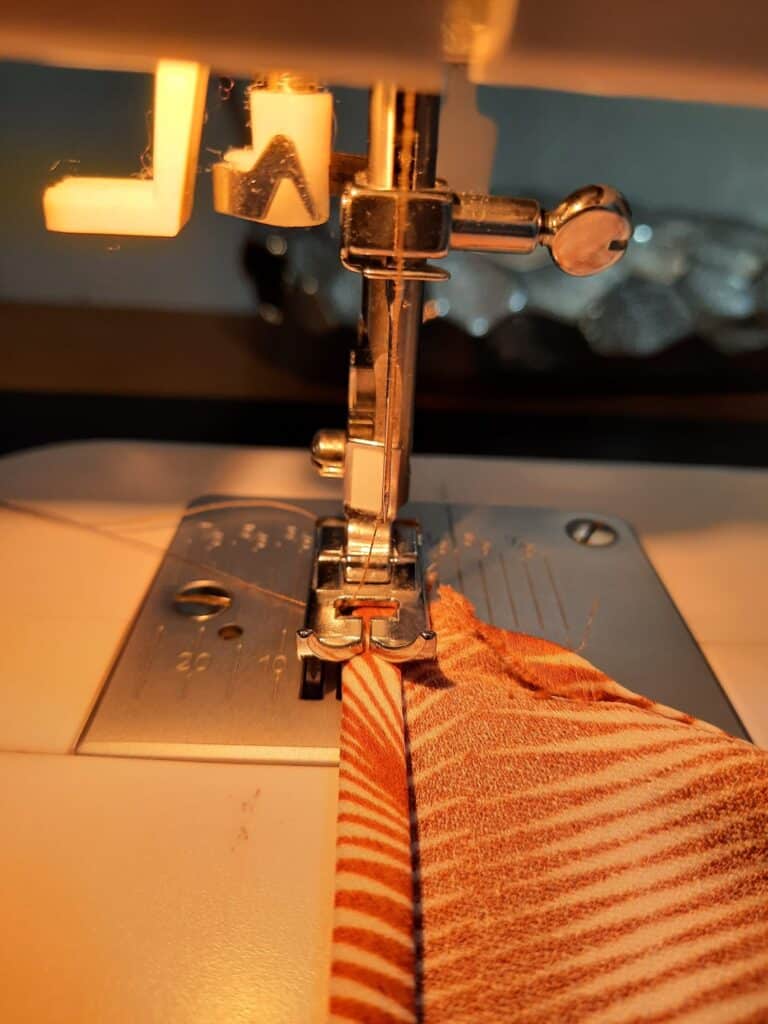
Adding an extra touch – belt loops
I love to wear skirts with a belt, so I decided to make belt loops from the remaining fabric. I used the leftover from the waistband to cut and fold to create the perfect belt loop.
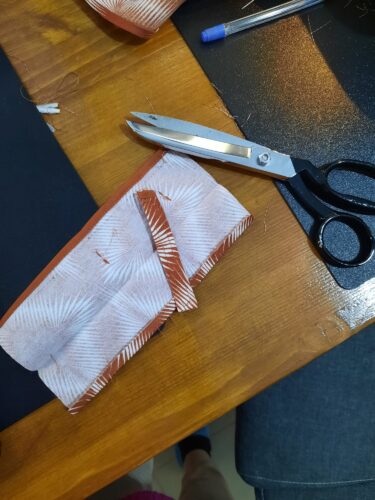

I decided to add them already after sewing back the waistband, so I only ripped little holes in the waistband to slide in the loops and sew them in place.
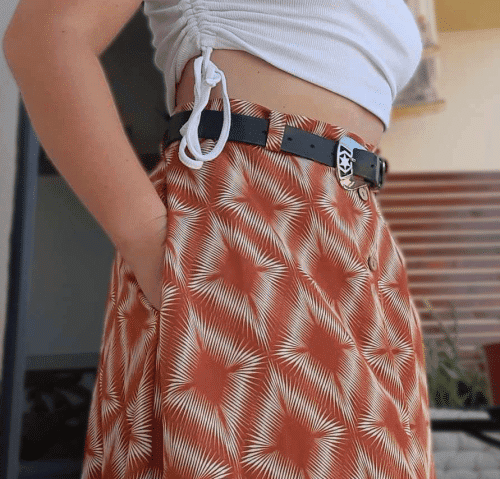
My sized down skirt is ready
This project took me around 2-3 hours as I was trying to figure out how to assemble it back again, but hey, I made it!
What do you think of this idea?


Check out my other sewing projects here!


