DIY shoe cupboard upgrade
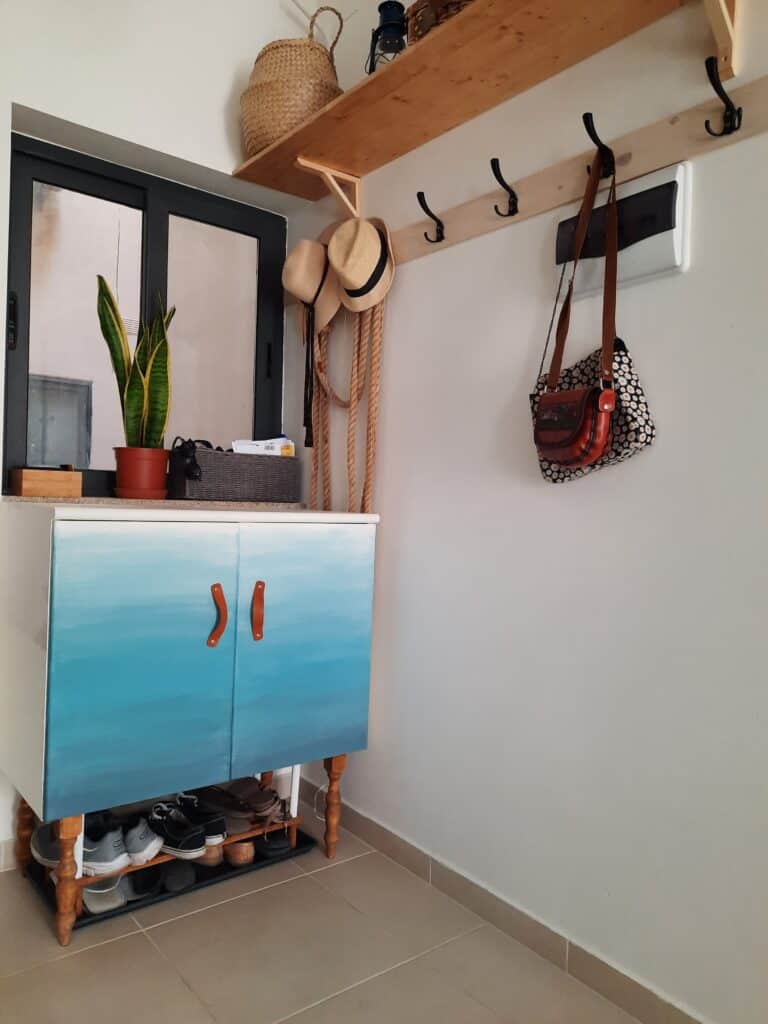
We were still unpacking freshly after moving in when we found this lonely piece of furniture standing on the floor in the spare bedroom. We didn’t have enough storage for our shoes so it was an impulse to use it by the entrance. And I knew this is the time to DIY and upgrade this shoe cupboard. We decided to raise it up by installing wooden legs and luckily we found some at Homemate.

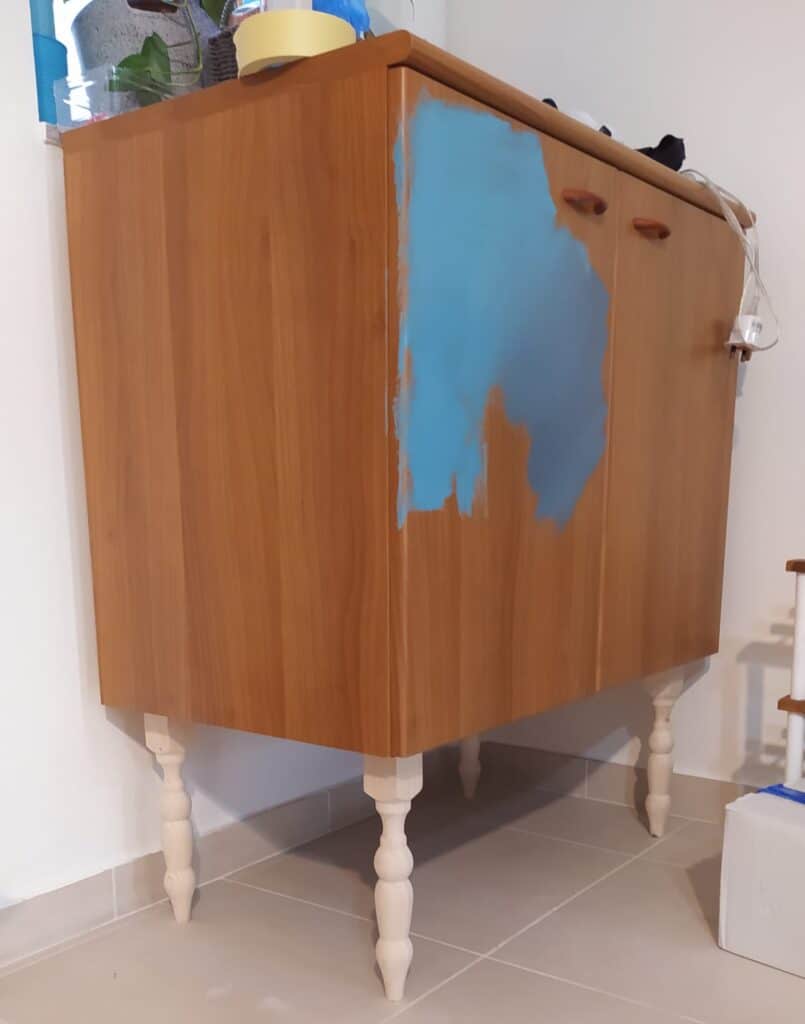
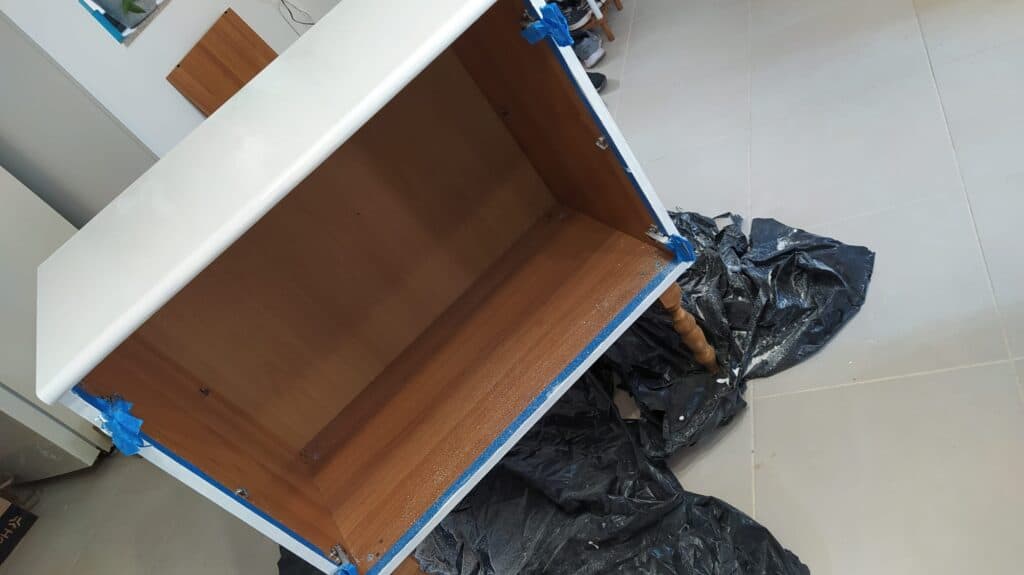
Here you can see the cupboard already flipped upside down, as I was rushing so much to DIY, that I forgot to take a picture before!
The upgrade idea
We installed legs using screws together with glue because we wanted to make it extra strong. When the legs were ready, I was trying out some ideas to see about the color. I wasn’t sure at first if I am brave enough to paint it blue.
I removed doors and door handles and used some wood filler to cover old holes.

The next step was to give it a light sand with sandpaper, and cover hinges with tape. I created a clear line with tape as I didn’t want to paint inside of the cupboard. Used some old rubbish bags which we were using when moving in, to protect the floor.

Let’s paint
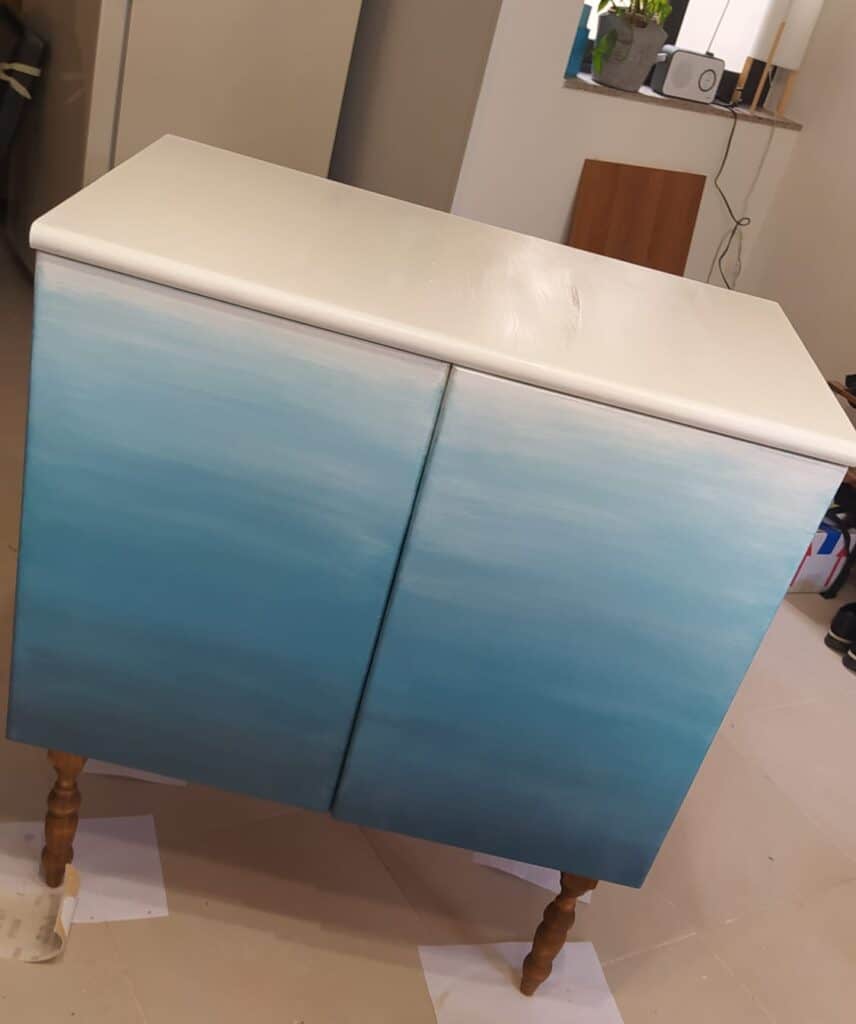
The box of the shoe cupboard I wanted to be off-white. I applied around 4-5 light coats, sanding each in between when was dry. Meanwhile, I managed to stain the attached legs, using wood stain Liberon – Antique Pine.
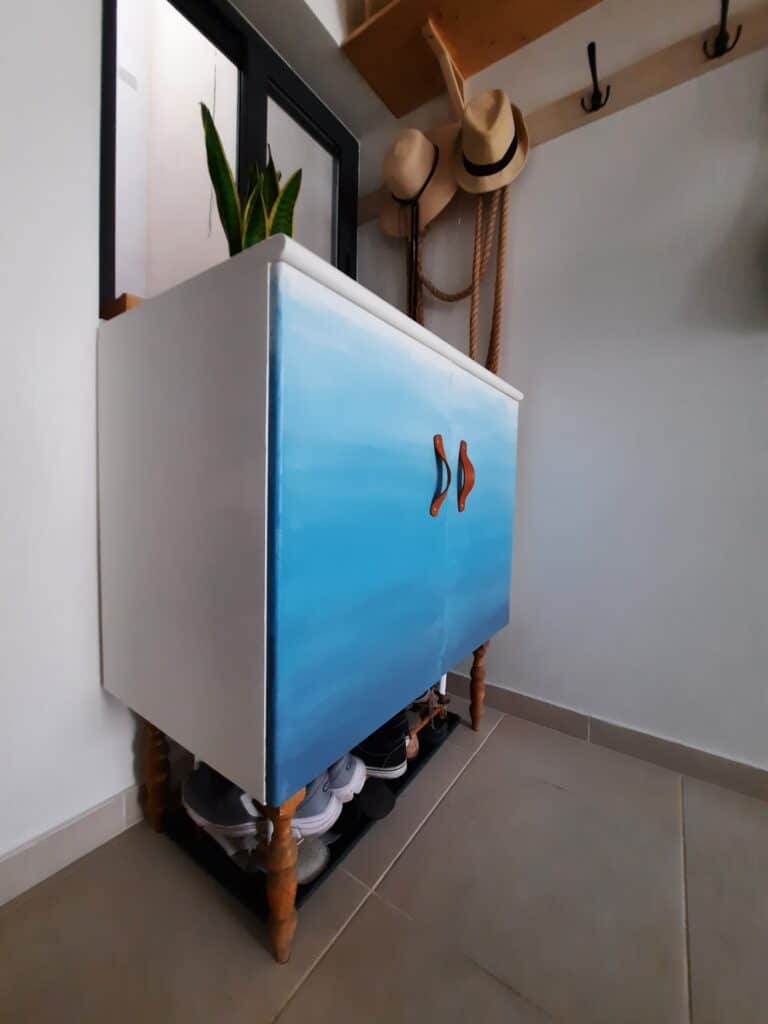
The idea for the door was different. I thought of trying out the ombre effect, and I was going with 2 different blue shades and mixing it with white. This was the most difficult part, I must say, because I struggle to make a great coverage and at the same time get the nice color transfer effect. The doors were sanded down as well in between each layer of paint, to get rid of the majority of brush strokes.
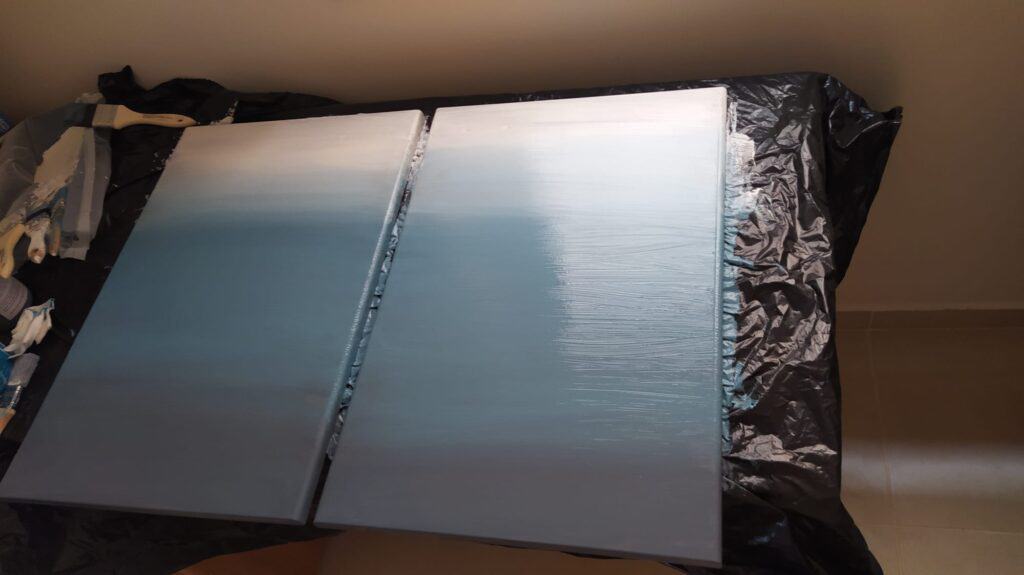
After everything was dry, I applied a topcoat and sand it down as well. The next day, to make sure everything is dry, the doors were ready to go back on the cupboard.
Last touch up
The final part of this project was to install door handles, and I had already purchased some time ago leather door handles from Poland (an amazing product from Allegro). We drilled holes in a new place, and the DIY shoe cupboard was ready to go!